Baked Chocolate Mooncakes with Mixed Seeds Filling

The Mid-Autumn festival falls on the 15th day of the 8th month 5th day of the 8th month of the lunar calendar with full moon at night. It is believed that the moon is the brightest and roundest on this day.

An important festival for the Chinese as it symbolises family reunion.

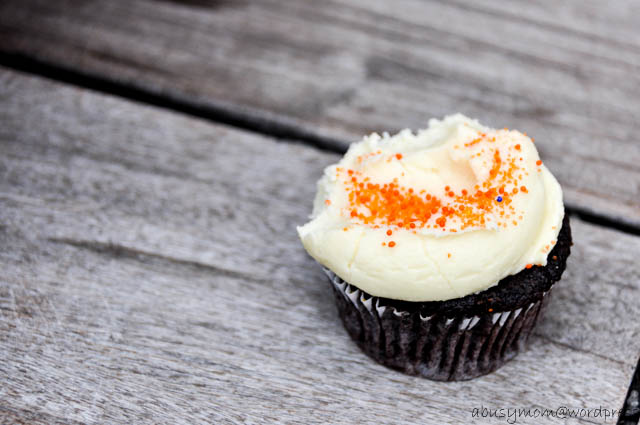
A good time to revive this blog.

21551806_10155258900363558_4344244583539597244_o

Ingredients (For six 165g moulds and four 50g moulds each)
Chocolate crust
  • 230g Cake flour
  •   30g Cocoa powder (I used valrhona cocoa powder)
  • 170g Sugar syrup
  • 50g   Corn oil
  • 1tsp Alkaline water
Method
  1. Mix sugar syrup, peanut oil and alkaline water together thoroughly.
  2. Sift plain flour and cocoa powder in a bowl. Make a well in the center and pour sugar syrup mixture. Using a rubber spatula to mix and form to a soft dough. Cover with a cling wrap and let it rest for 15 minutes.
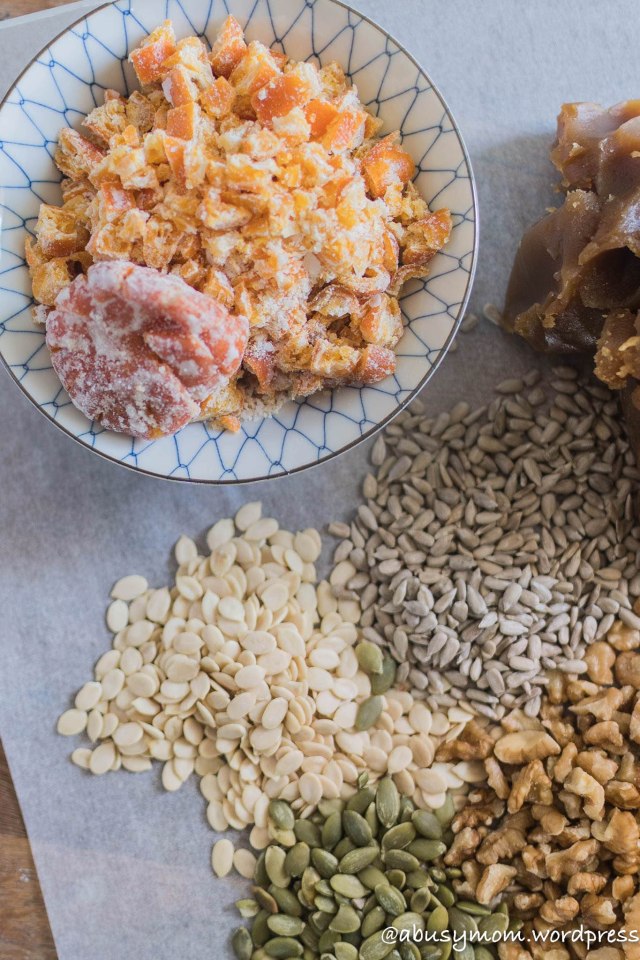
Fillings

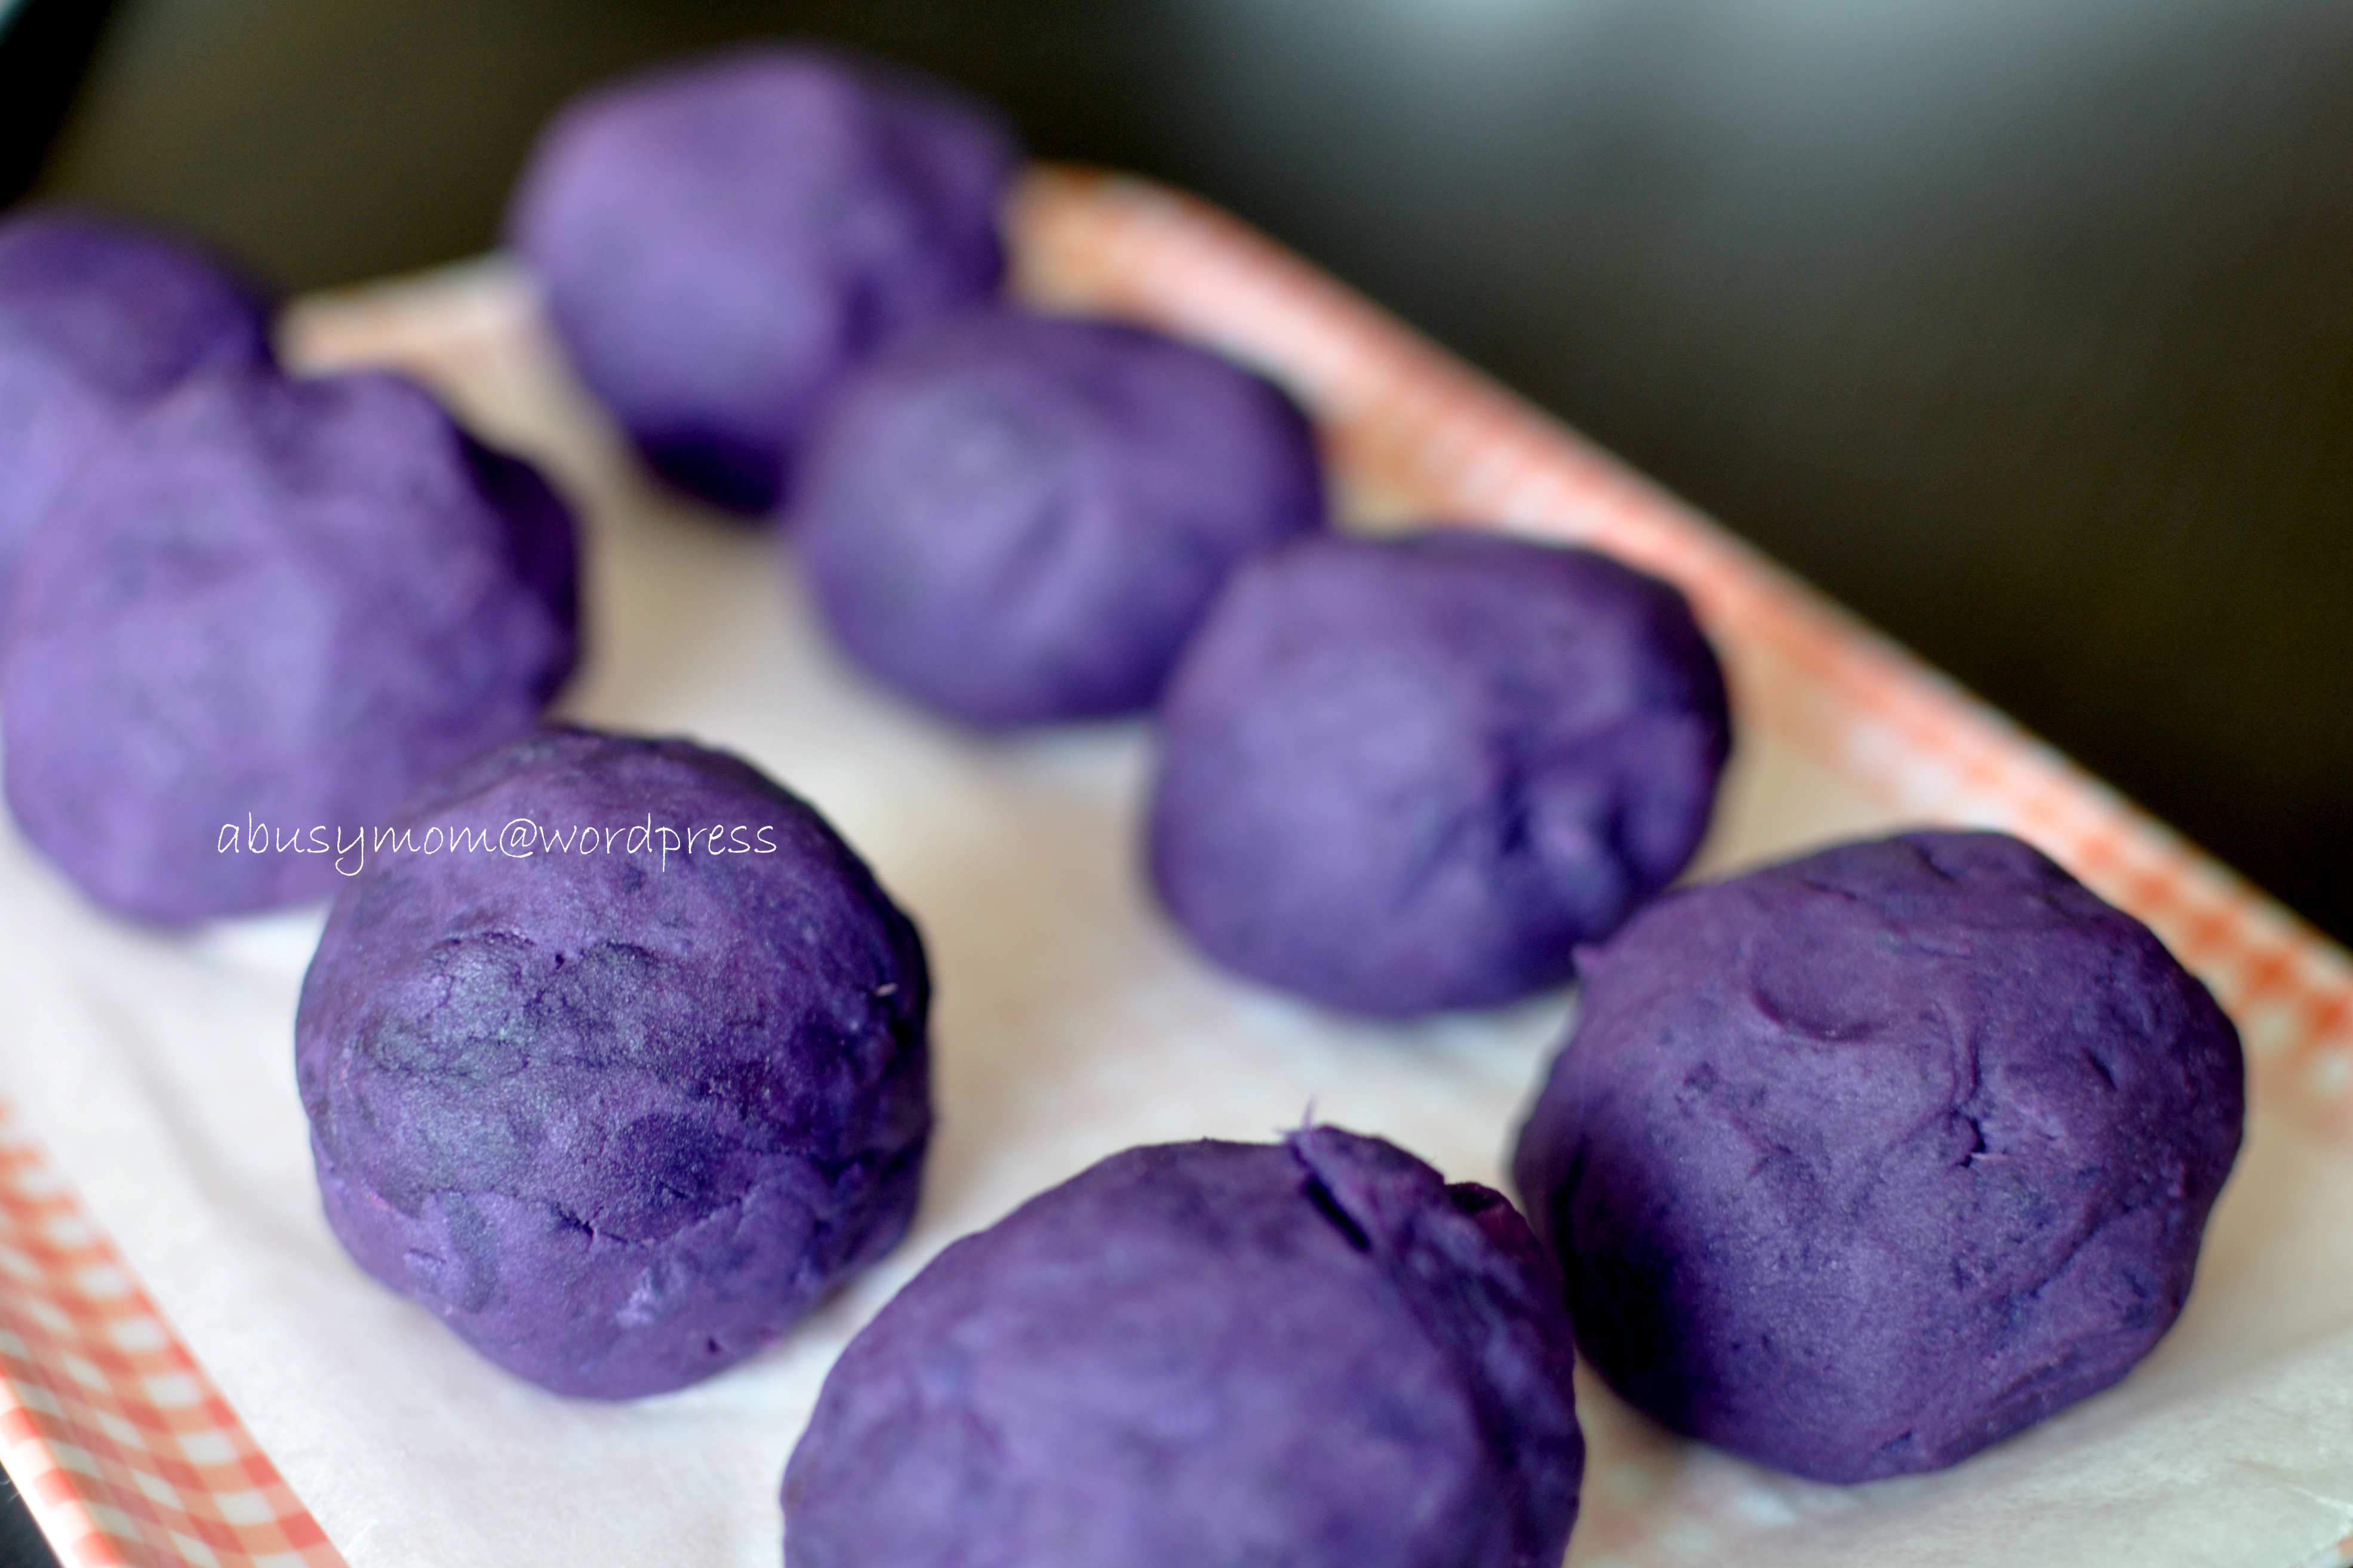
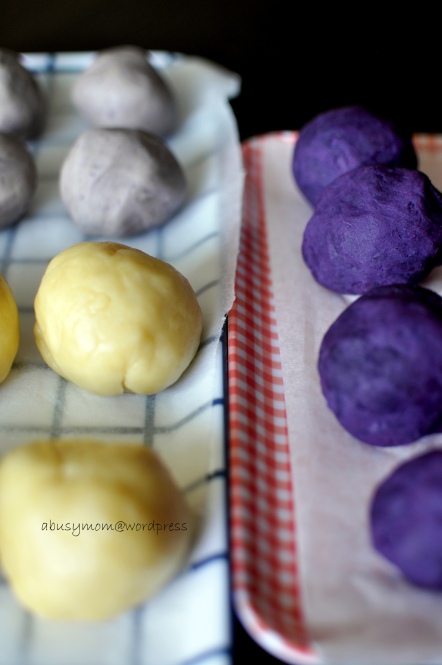
  • 600g White lotus paste
  •   50g  Walnuts (roasted and cut into small pieces)
  •   50g  Sunflower seeds
  •   50g  Pumpkin seeds
  •   50g  Candied mandarin orange

Mixed and divide into 6 portions of 115g each and 4 portions of 30g each.

21765484_10155258993718558_2800376669304269917_o

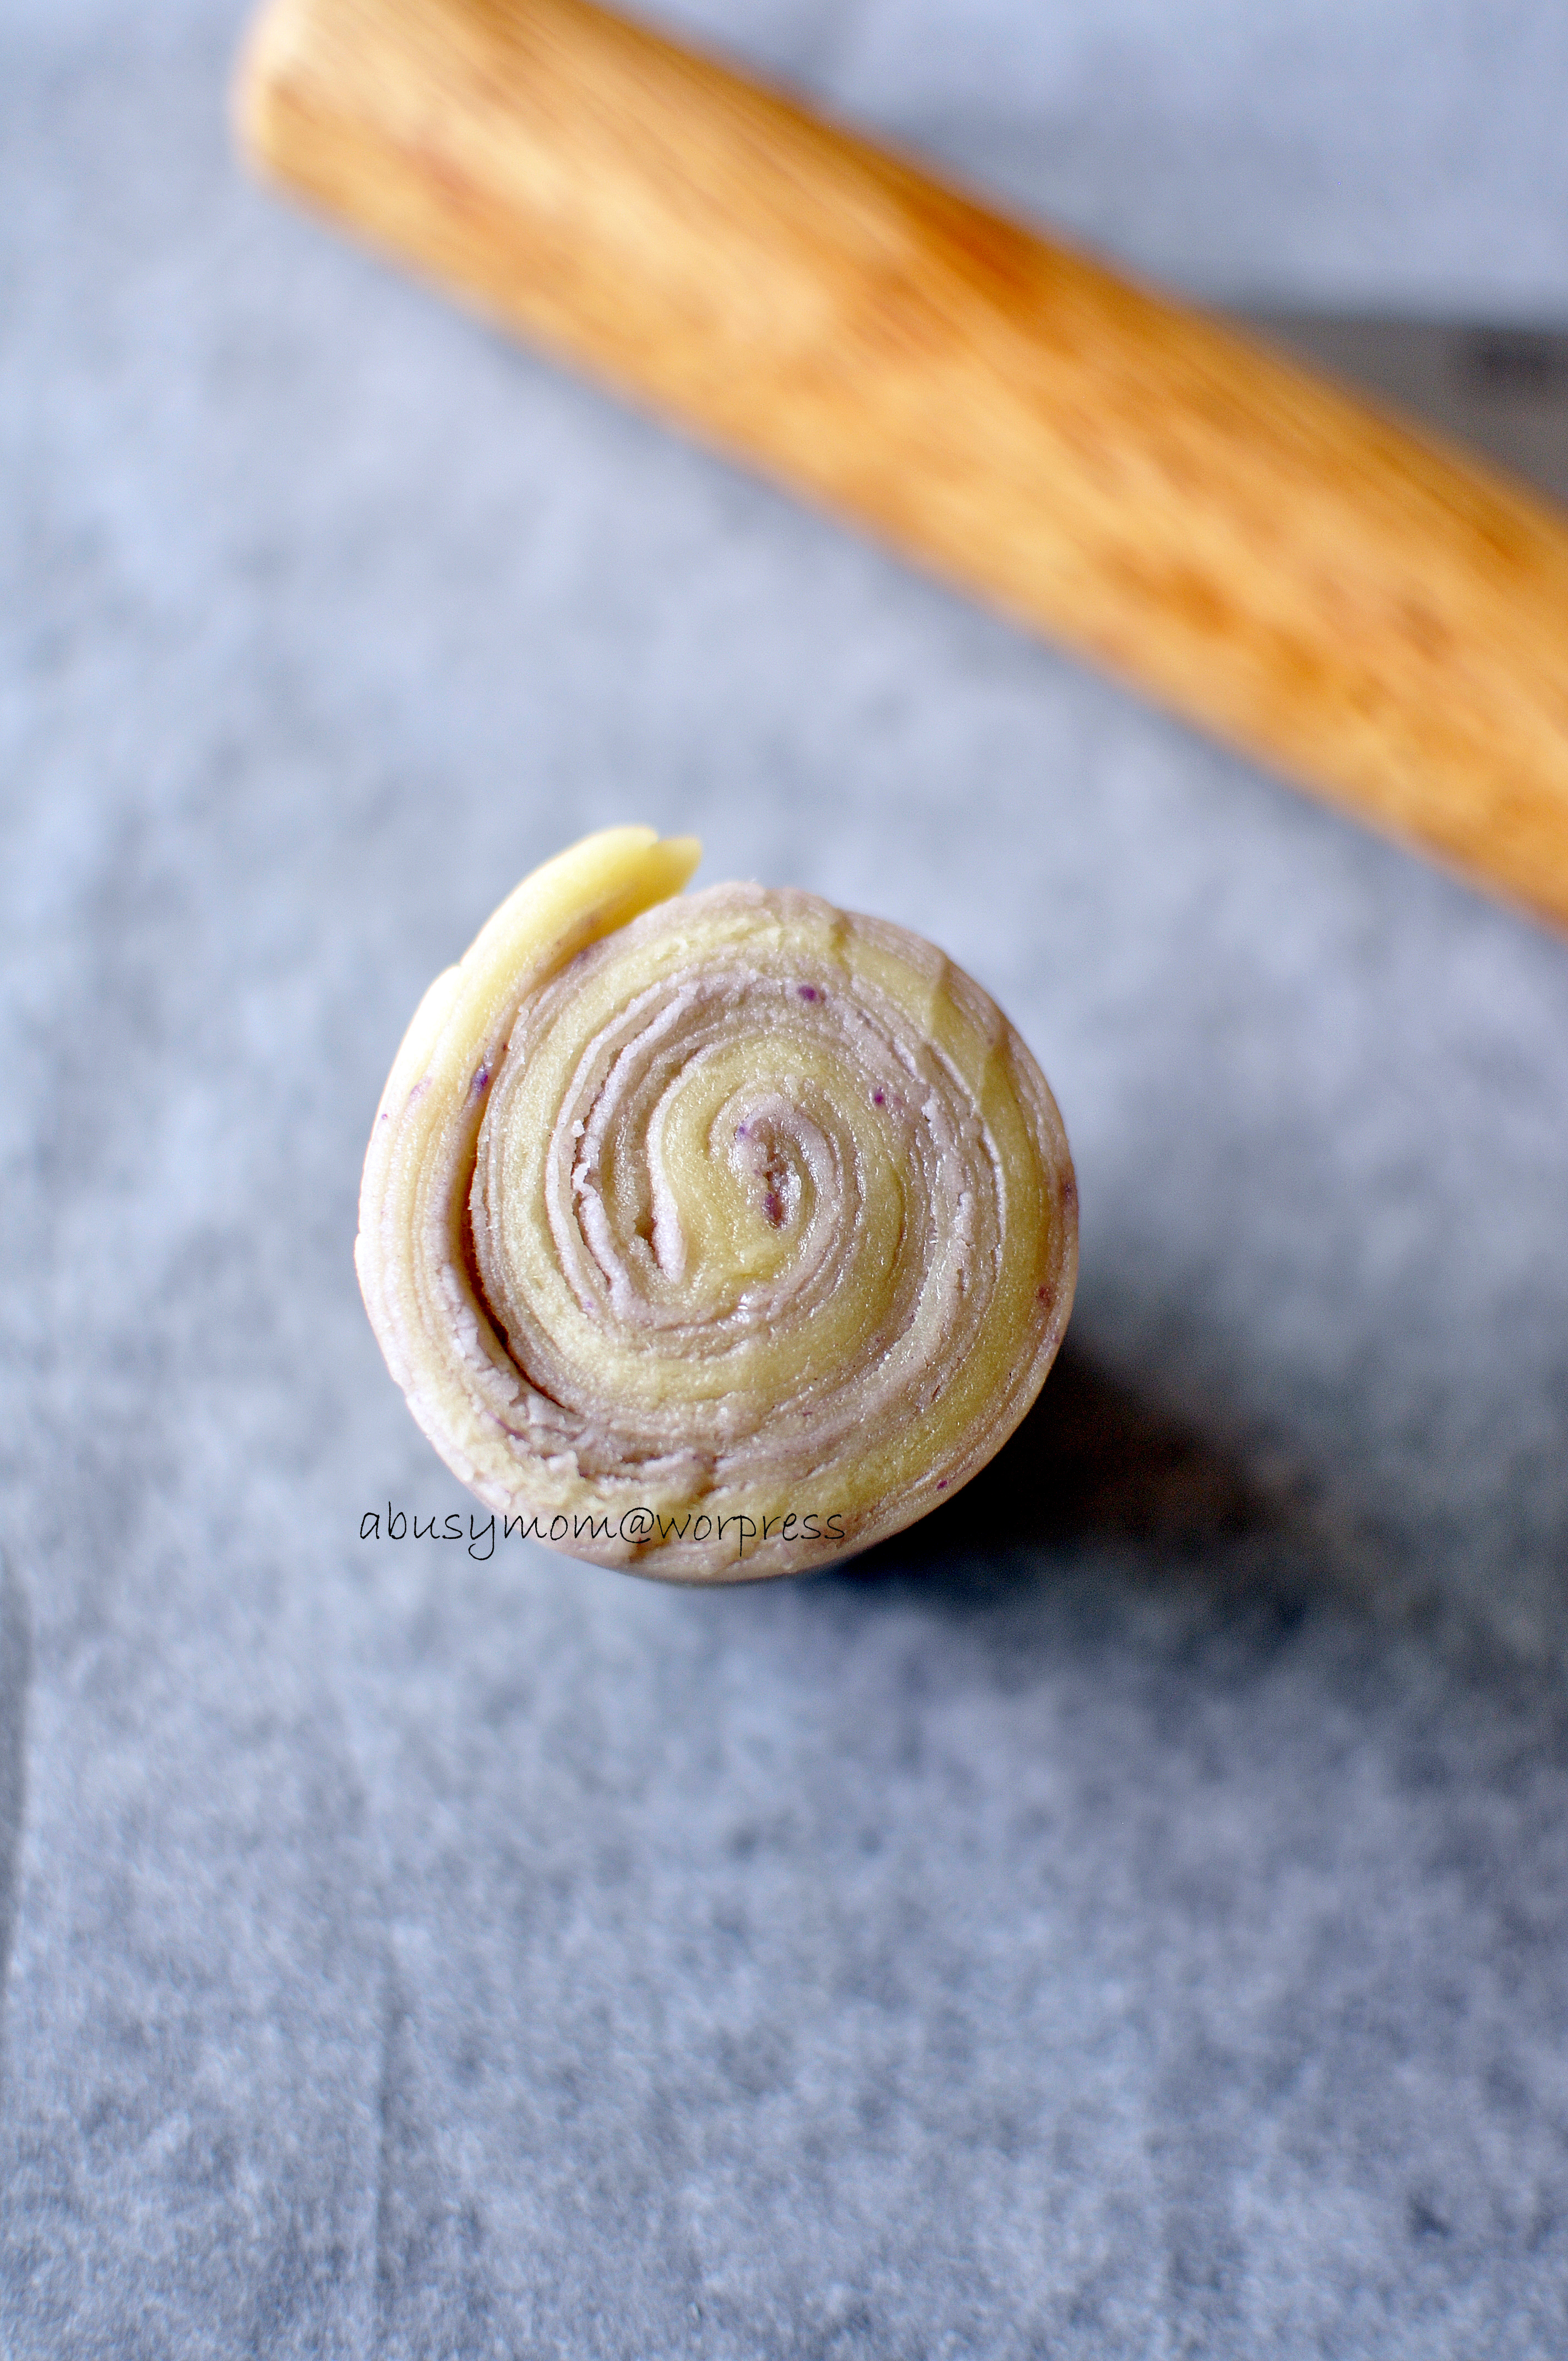
  1. Divide dough into 6 portions of 50g each and 4 portions of 20g each and roll into balls. Wrap the dough around the lotus paste.
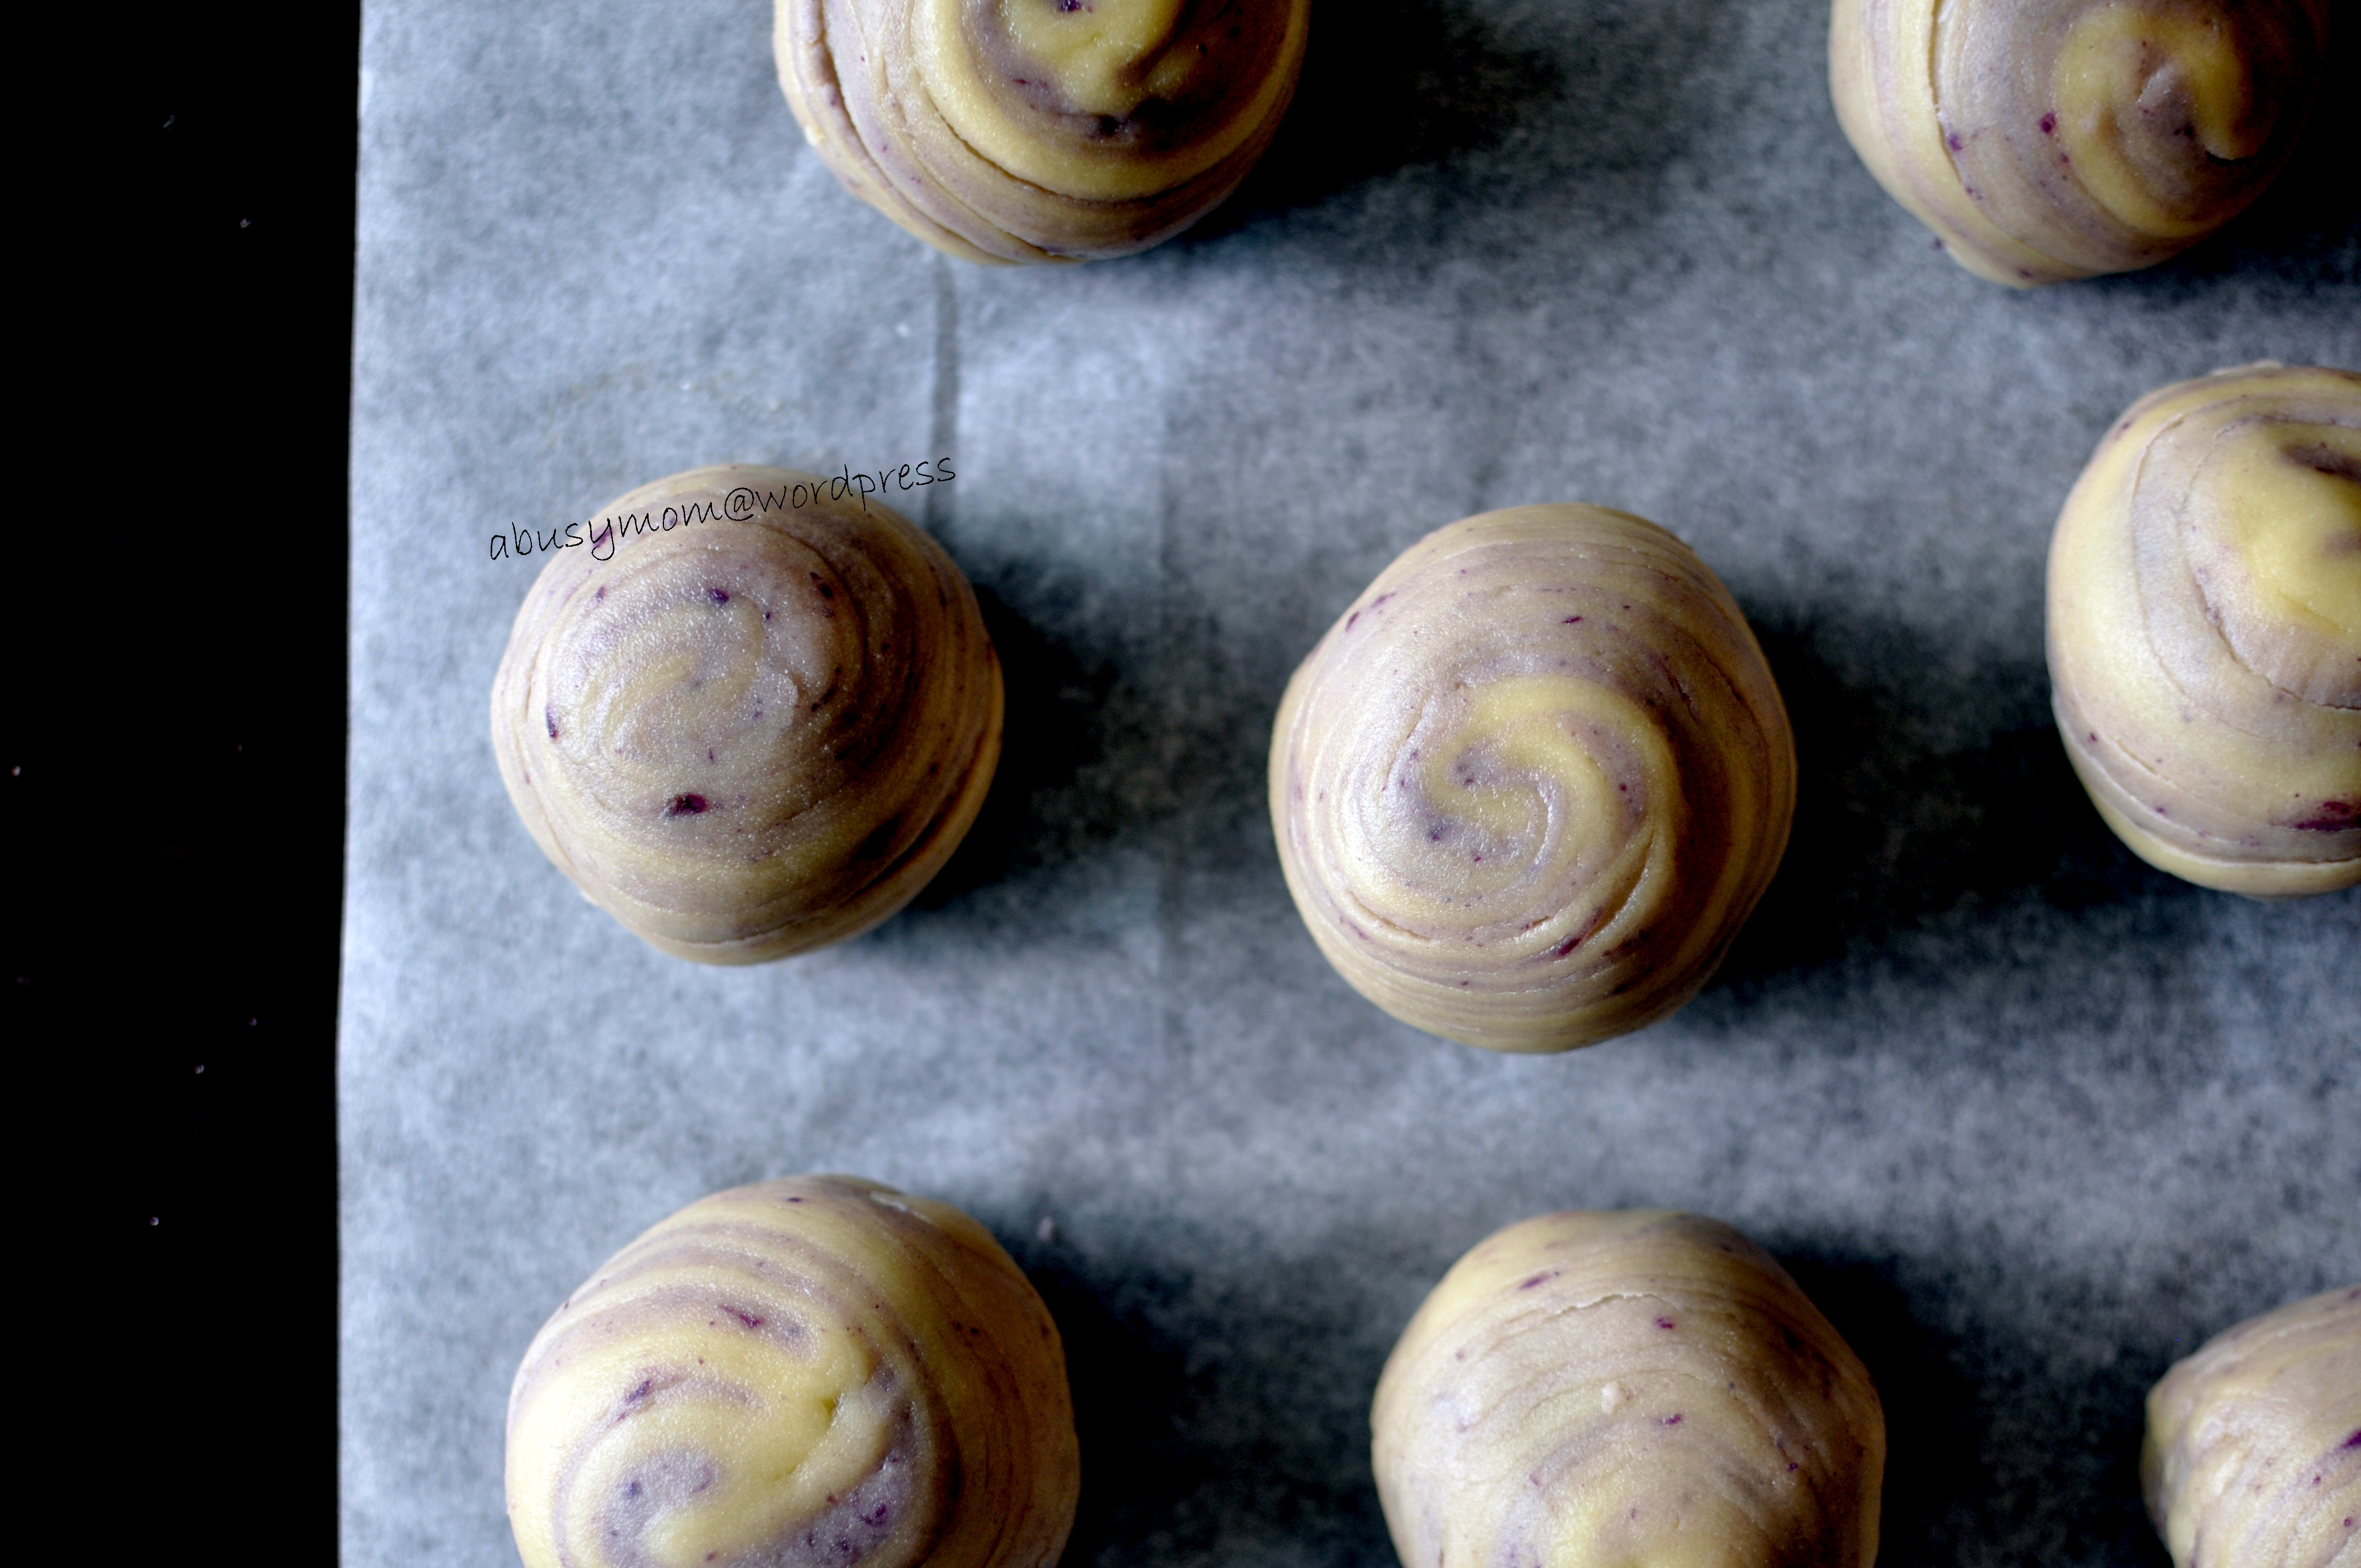
  2. Roll it into ball and dust with some flour. Press firmly into mould, unmould and place on a lined baking tray.
  3. Bake at preheated oven 170C for 10 minutes. Remove from oven and rest mooncakes to cool for about 15 minutes. Then bake the chocolate mooncakes again for another 10-15 minutes.
  4. Leave mooncakes to cool down completely before storing into an airtight container. This mooncake can be eaten immediately after baked or wait for about 3 days for the mooncake skin to soften (回油) before consuming.

DSC_7369

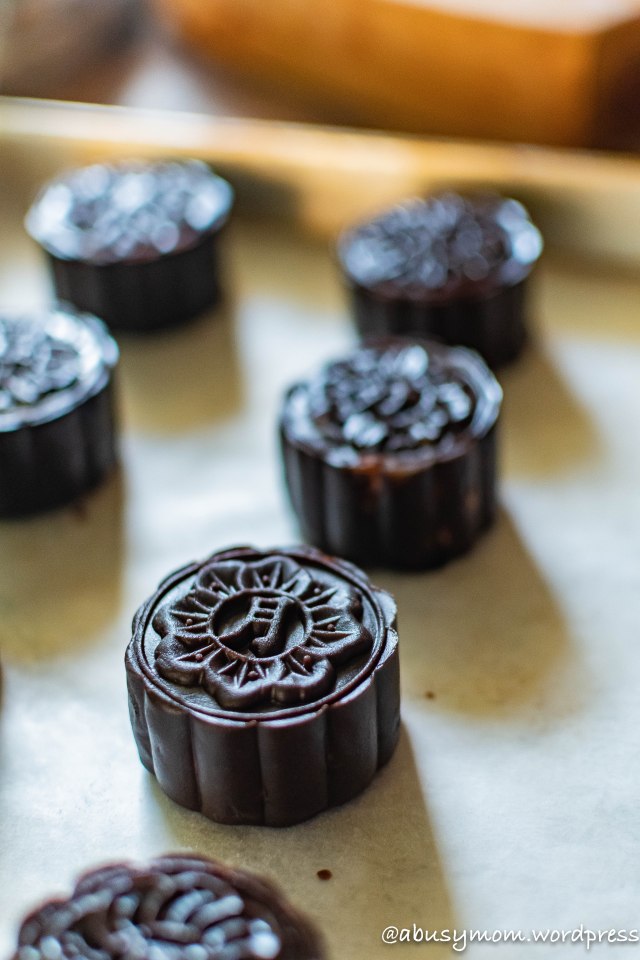
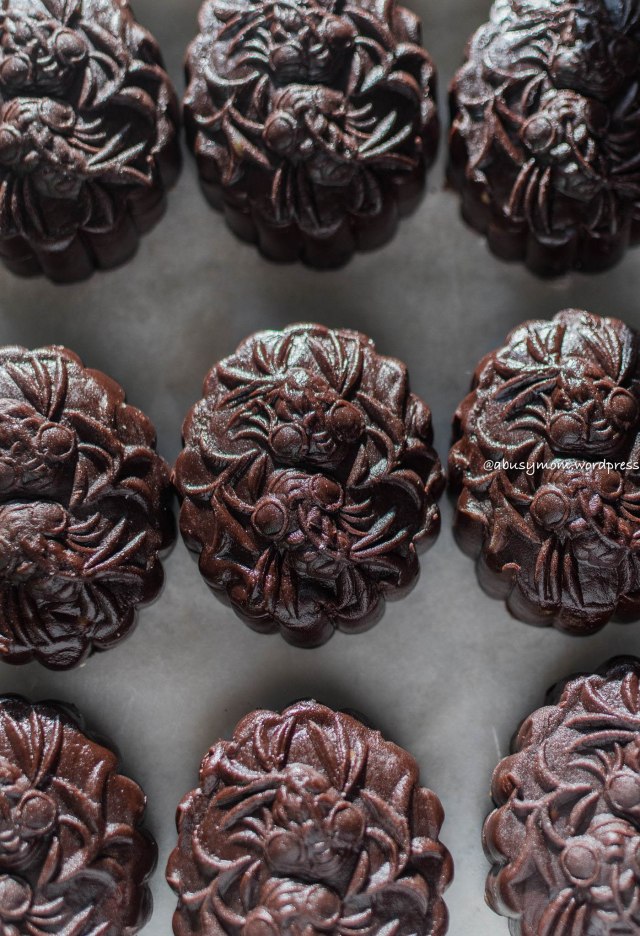
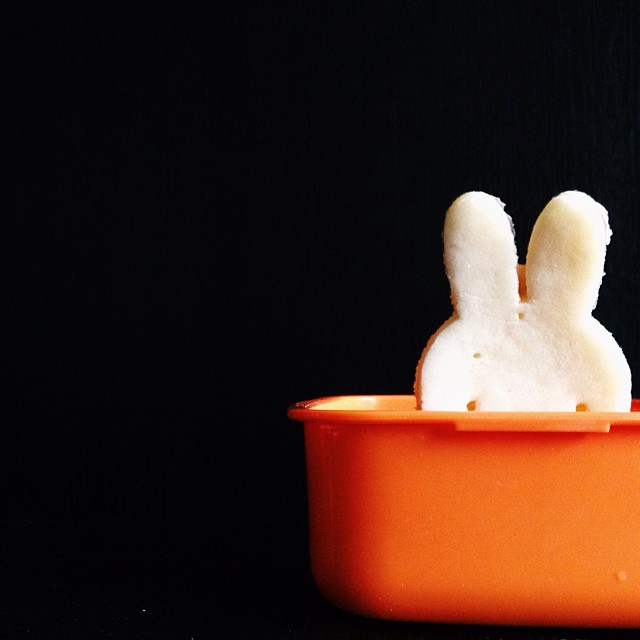
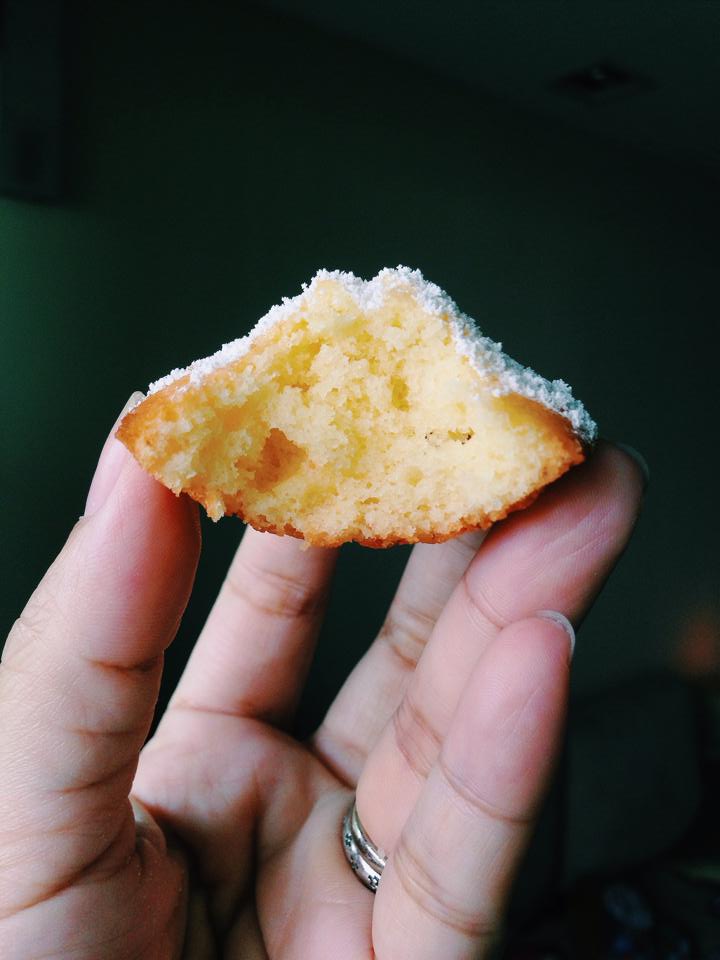
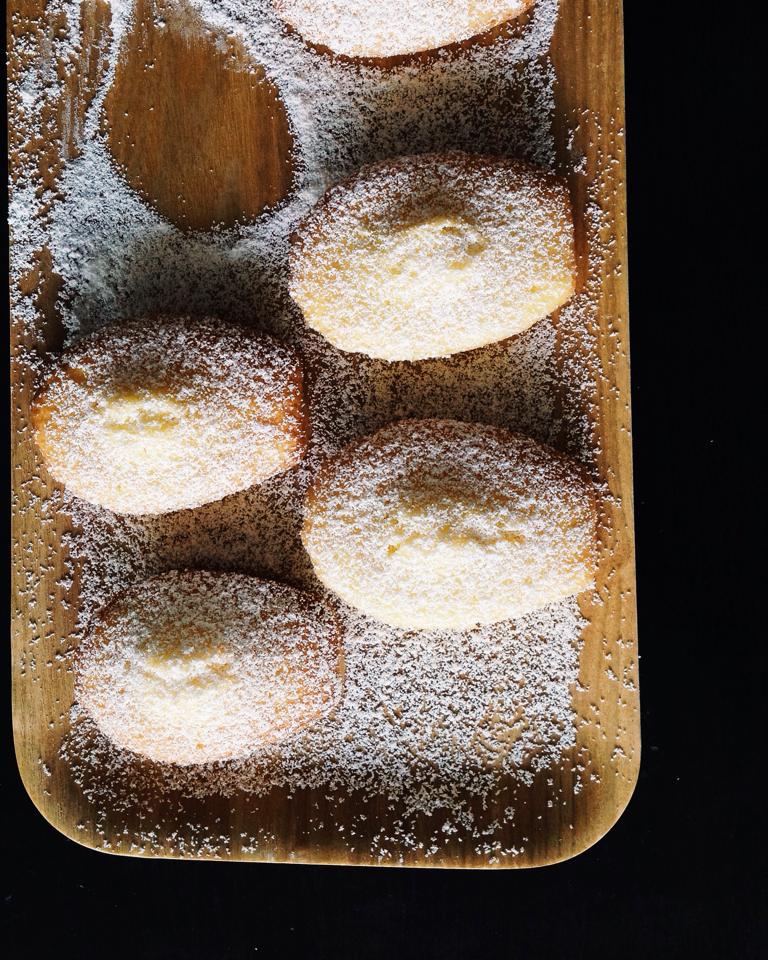
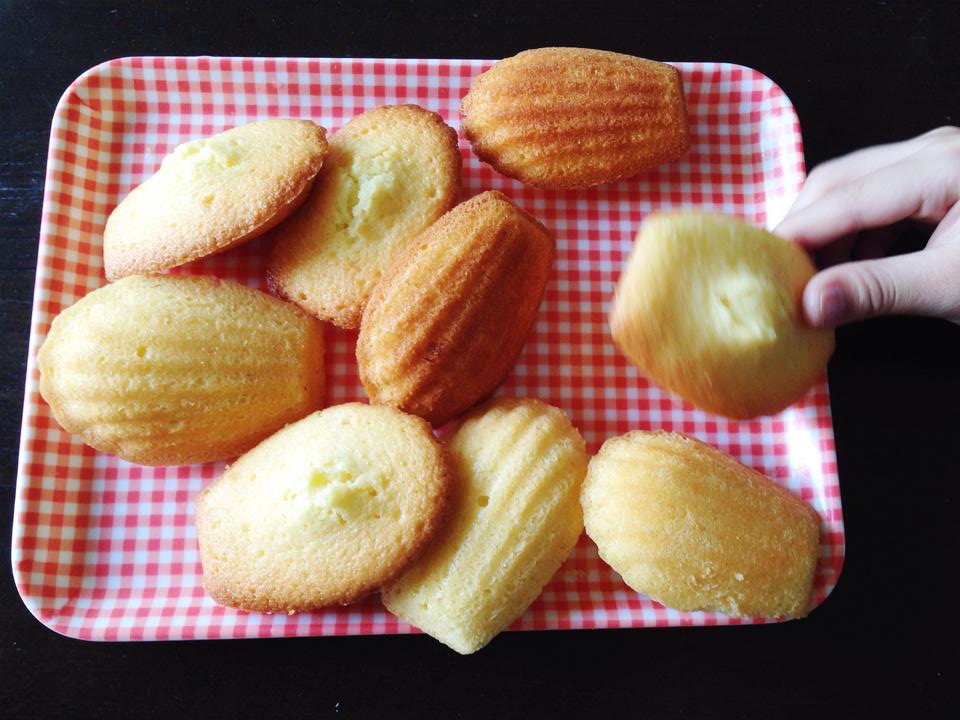
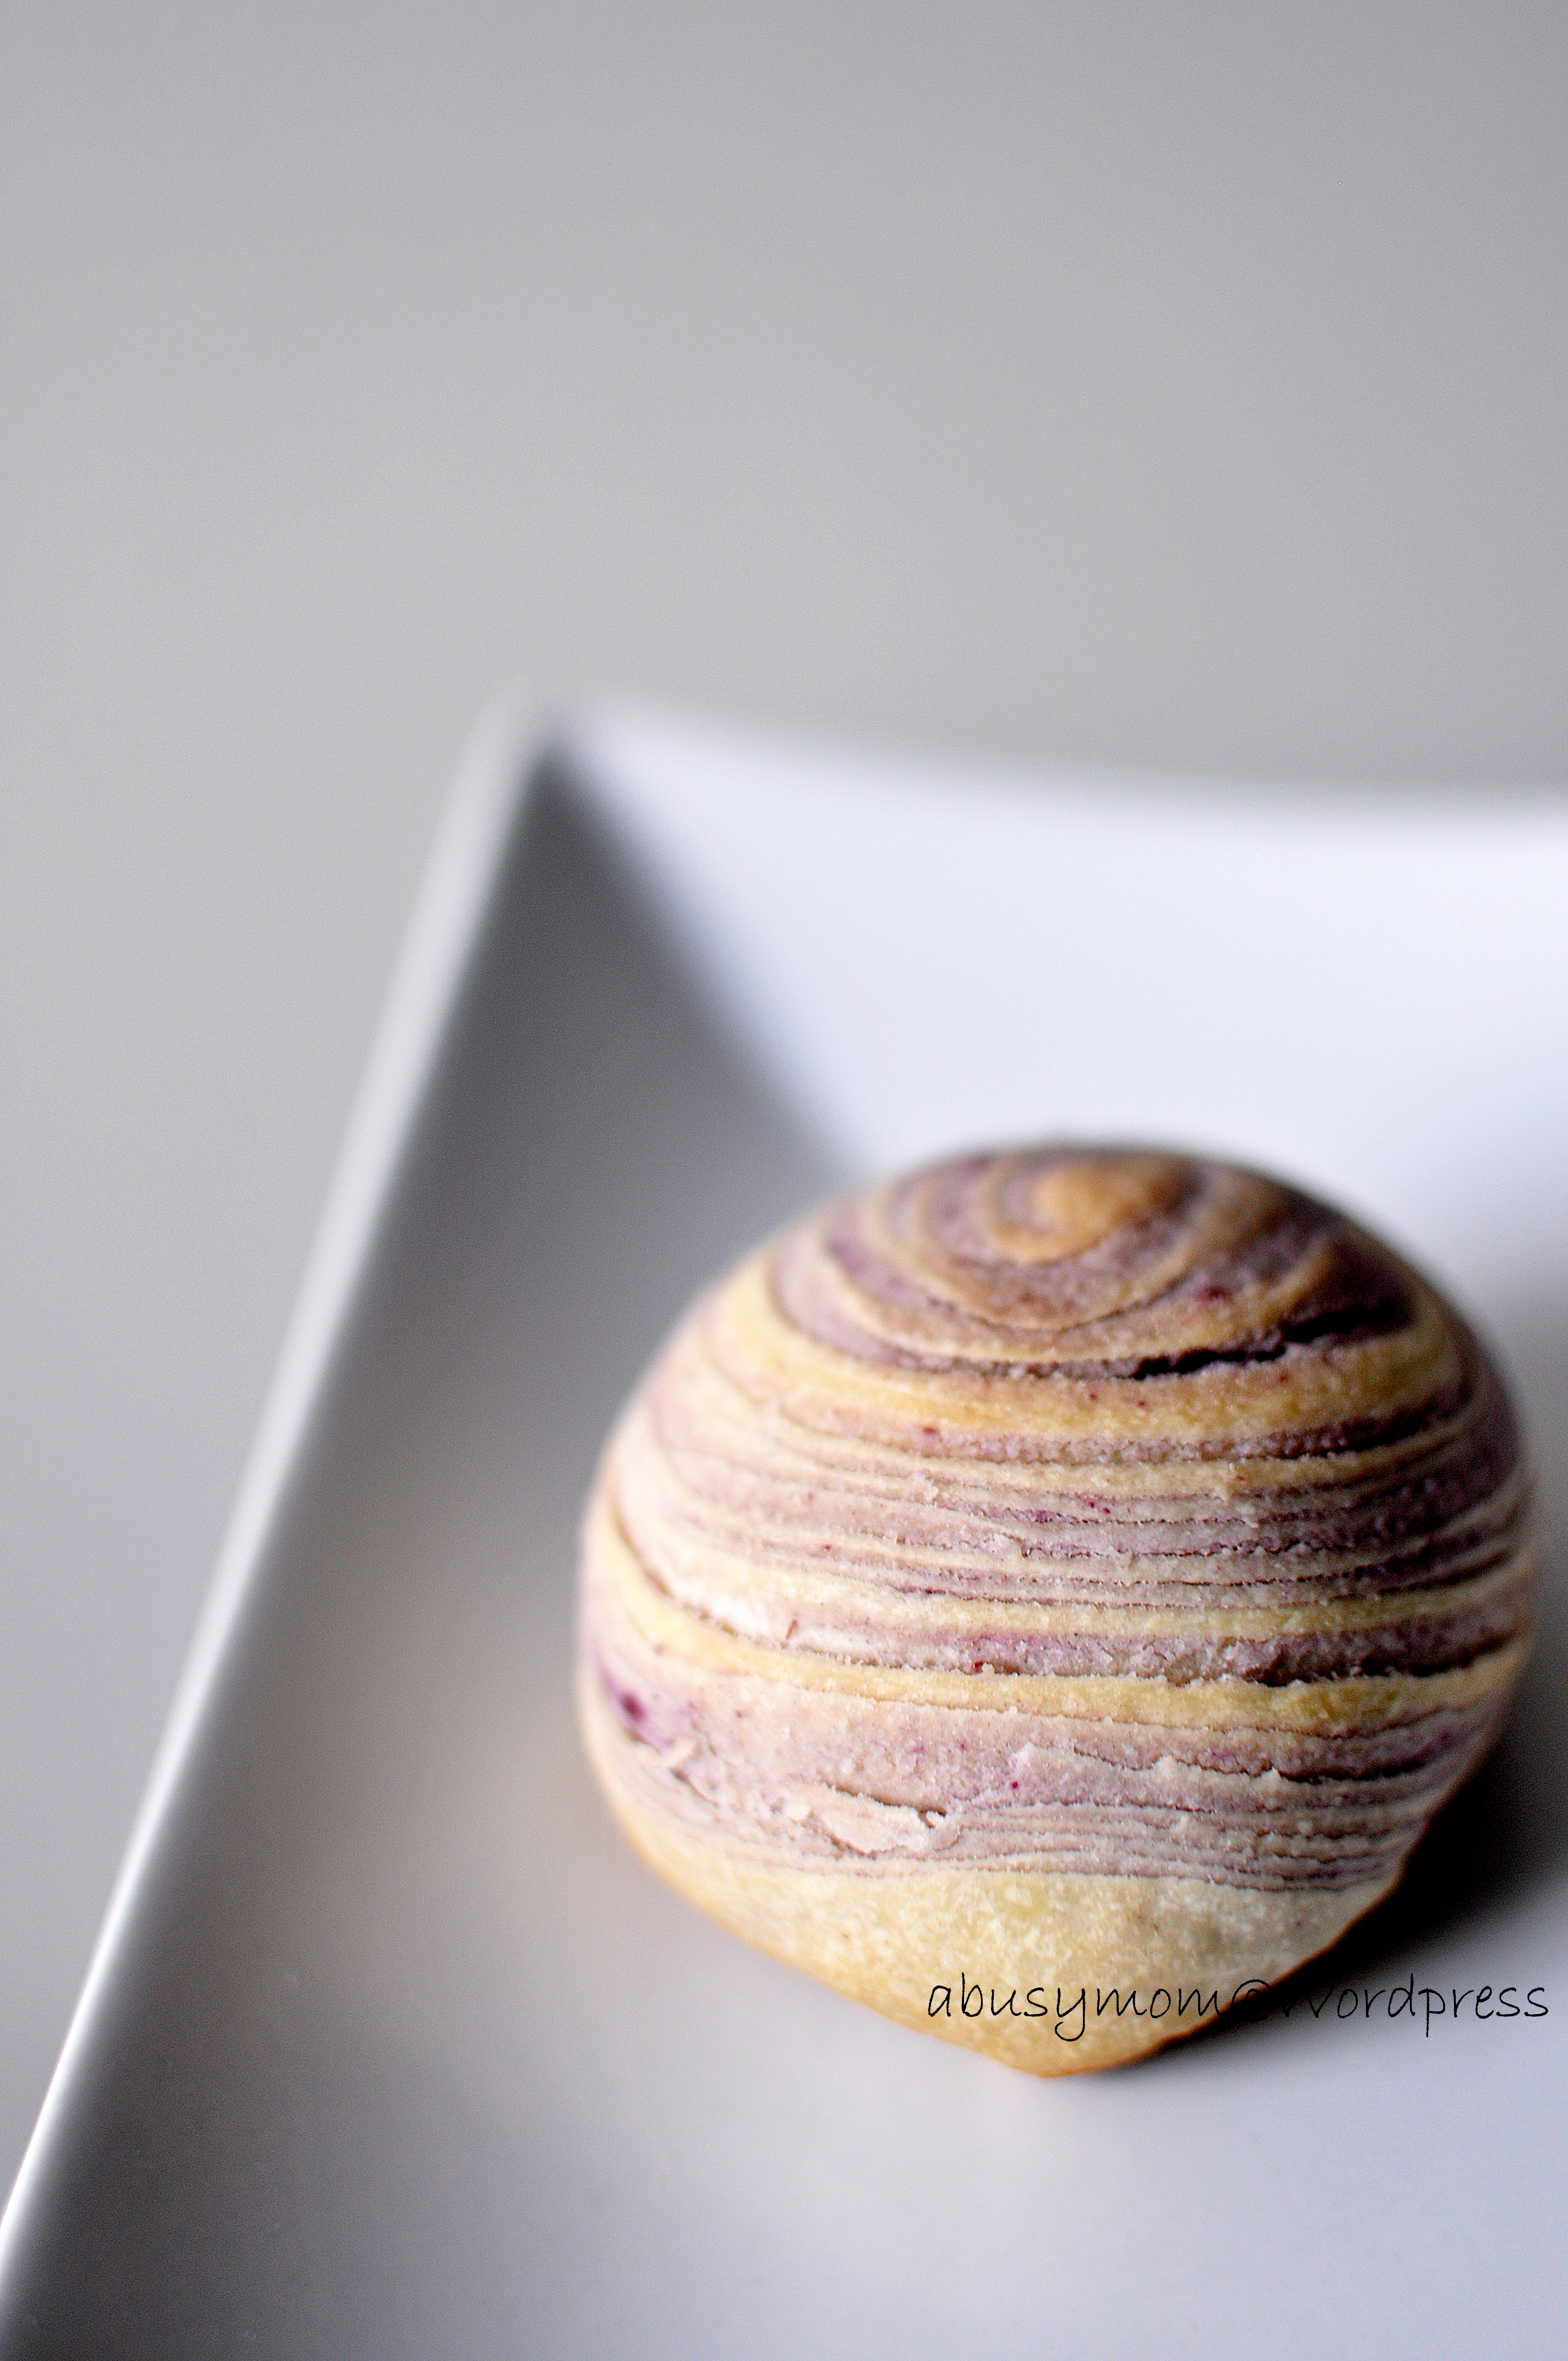
Love the sight of these little snacks.

DSC_7387

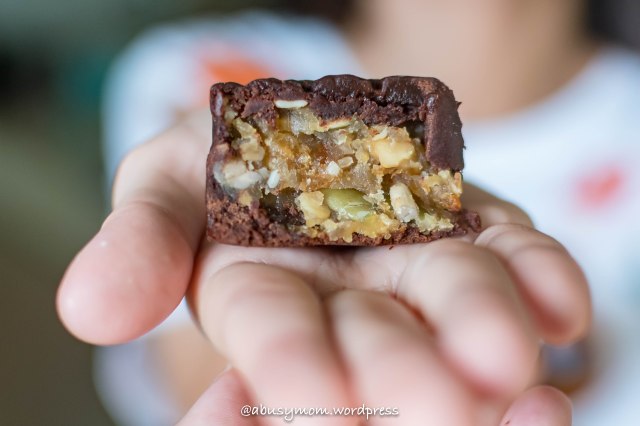
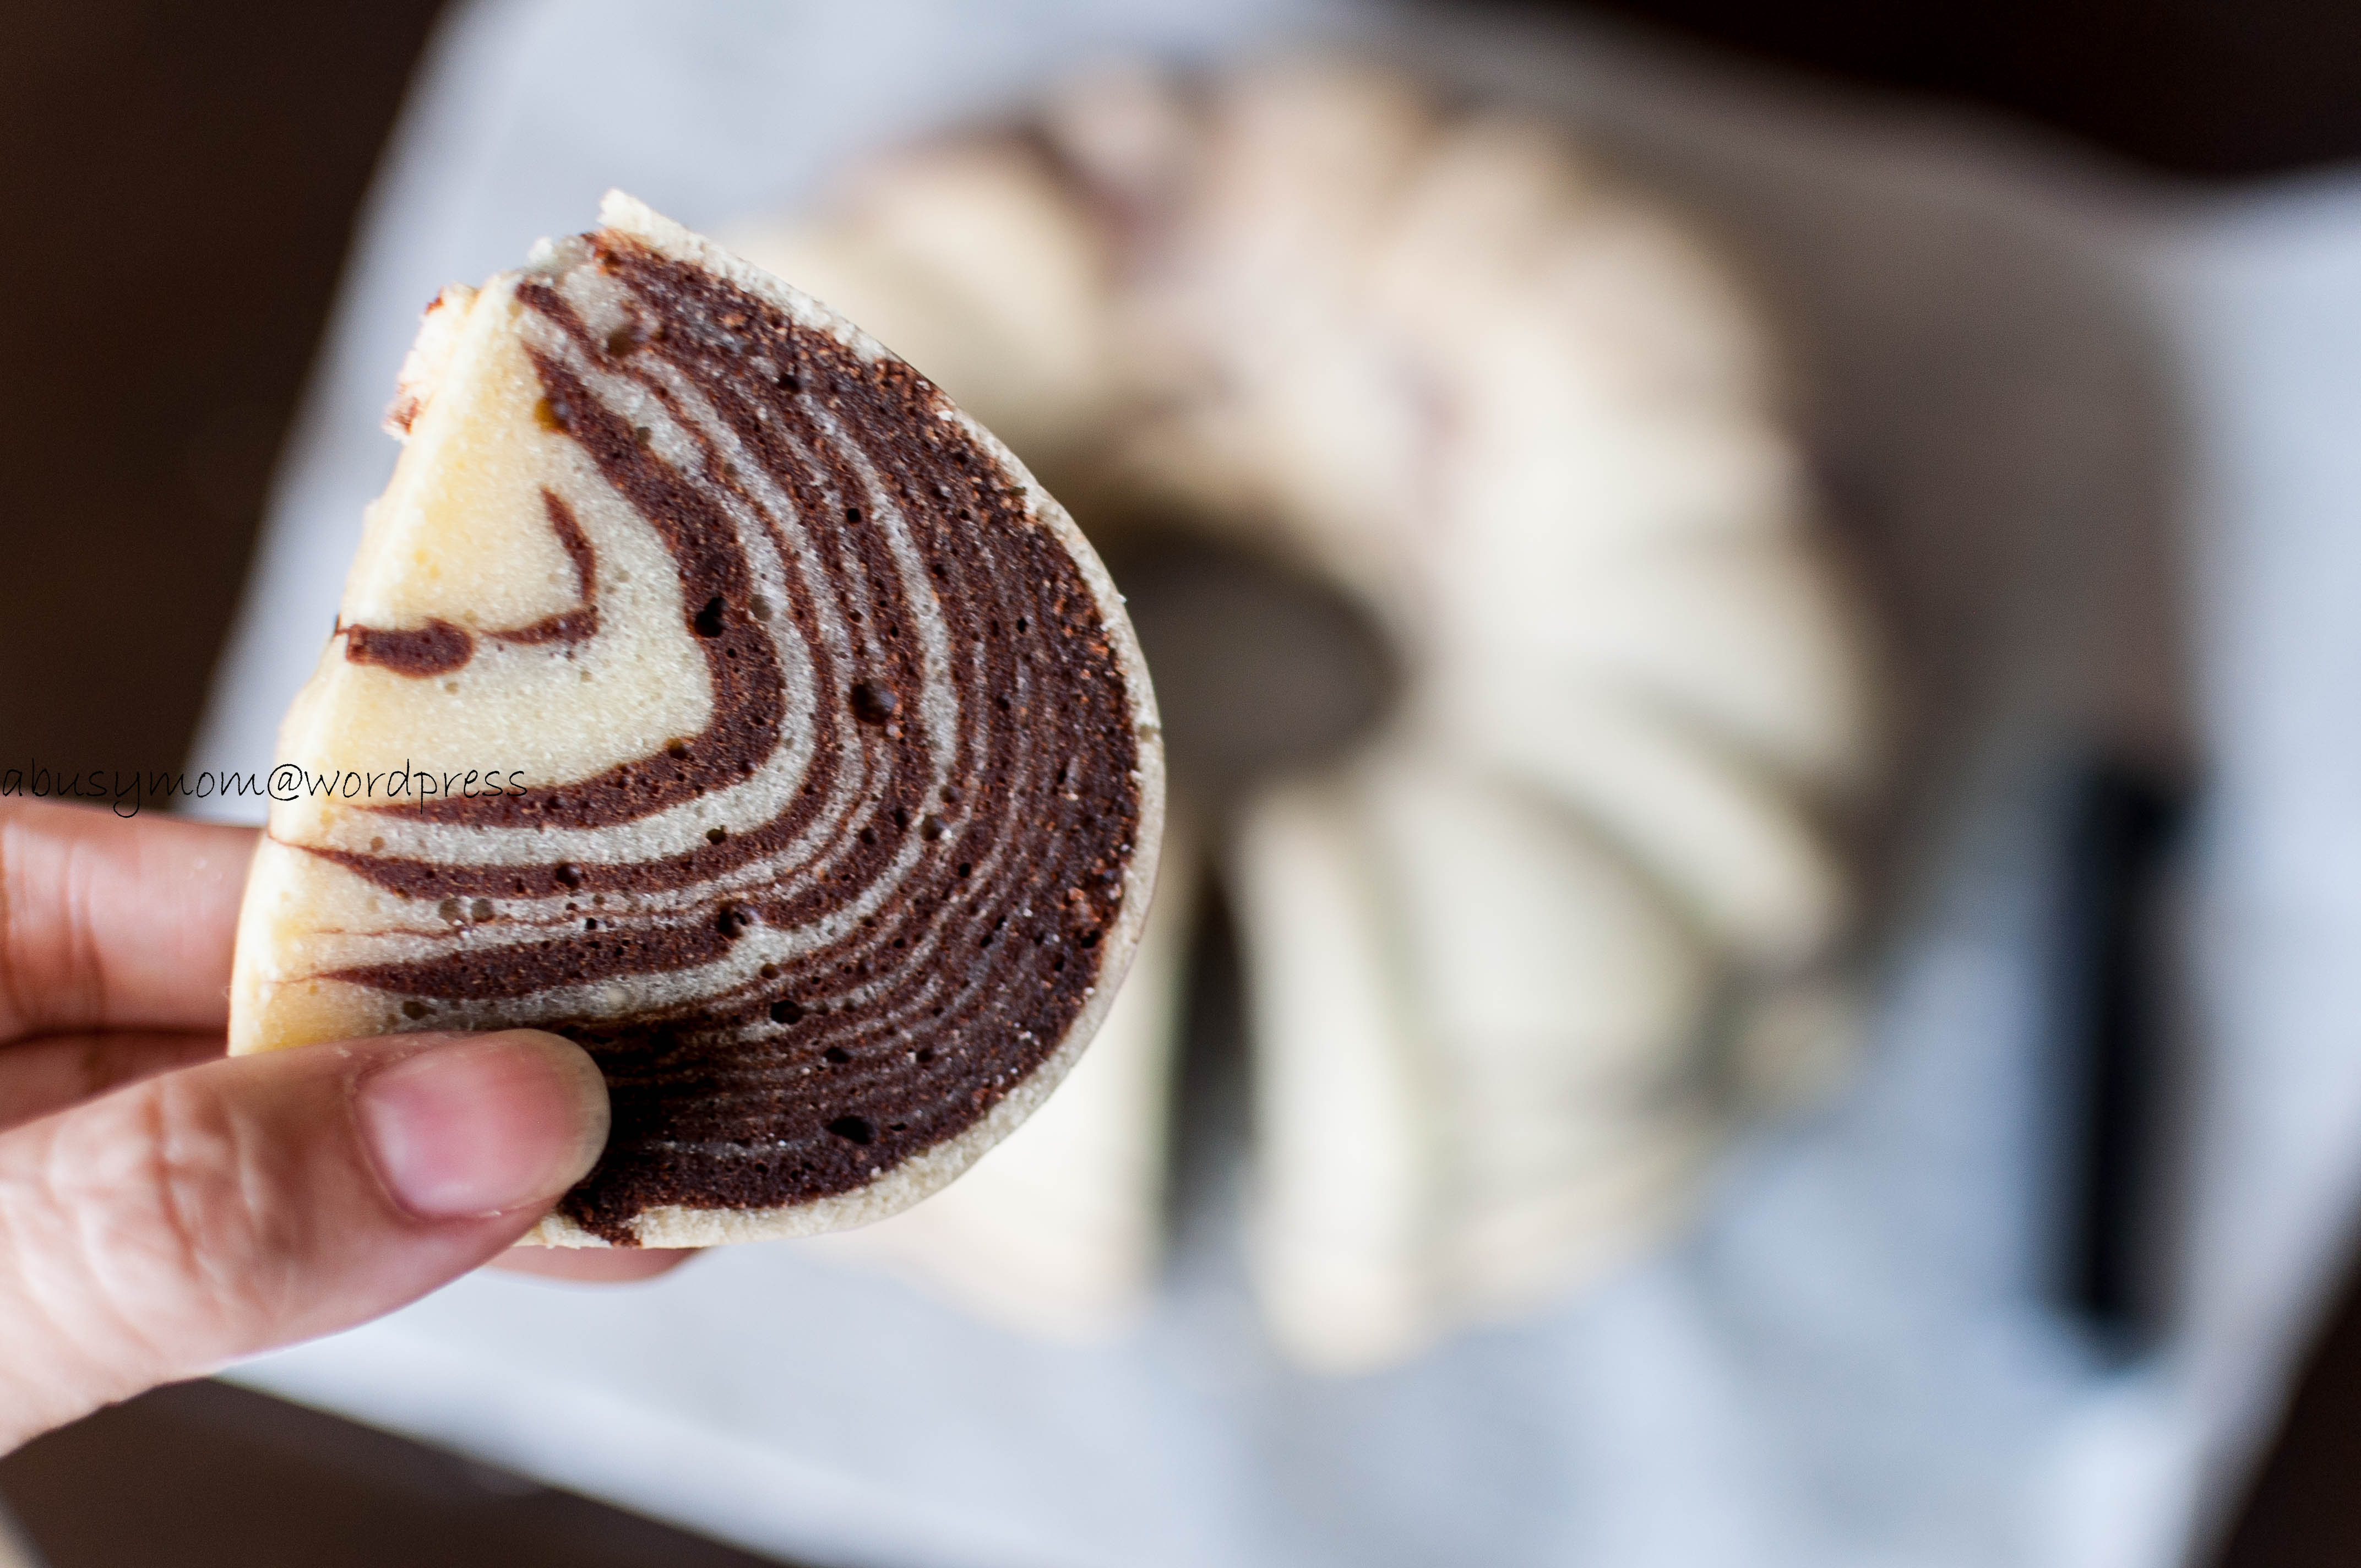
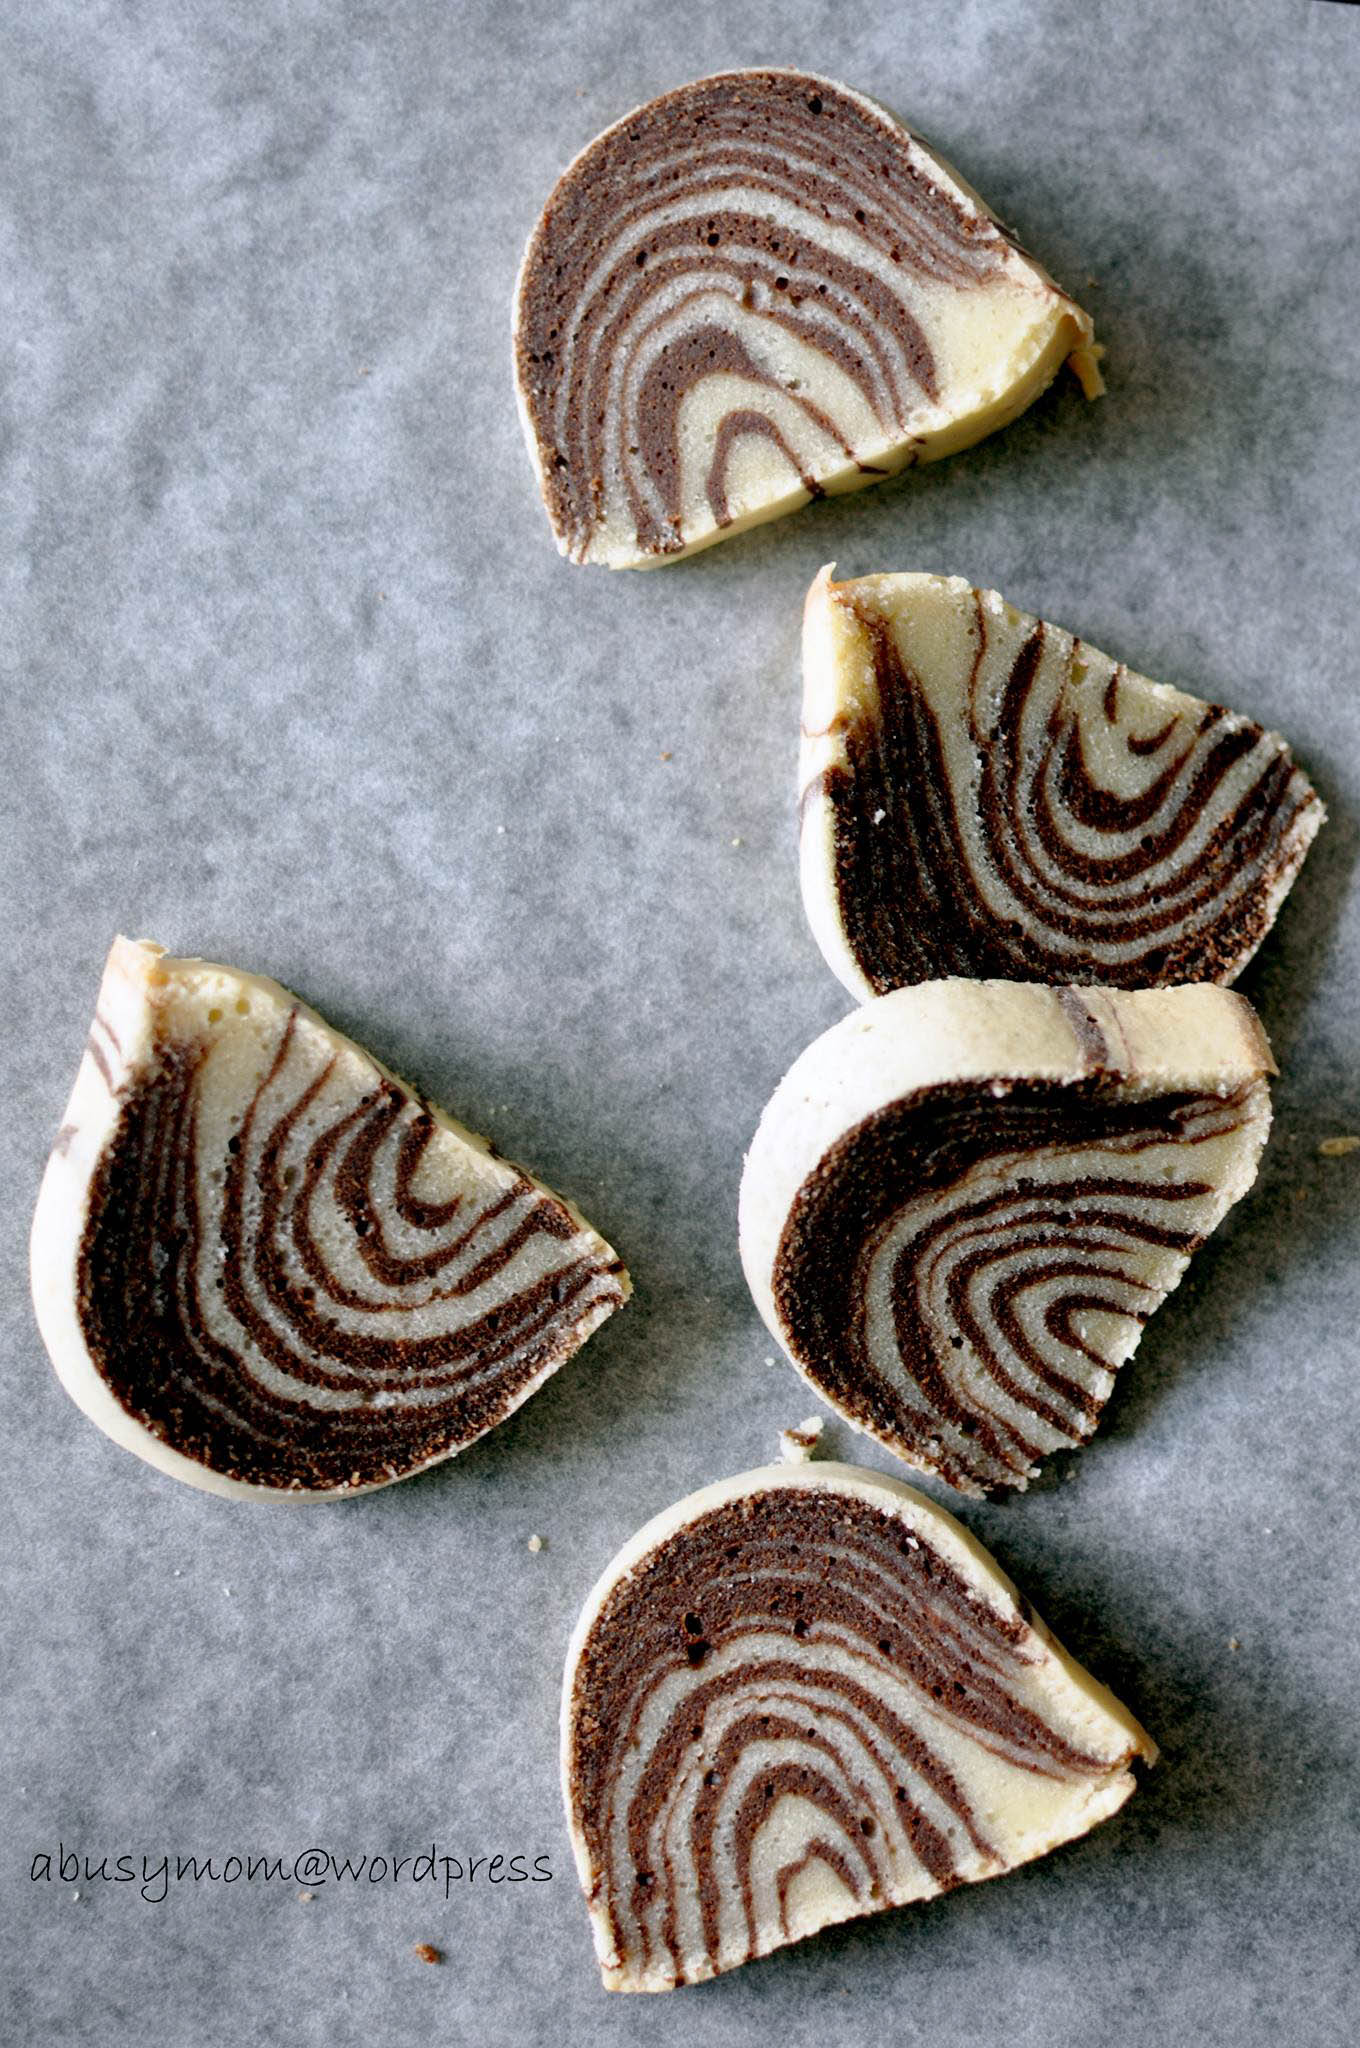
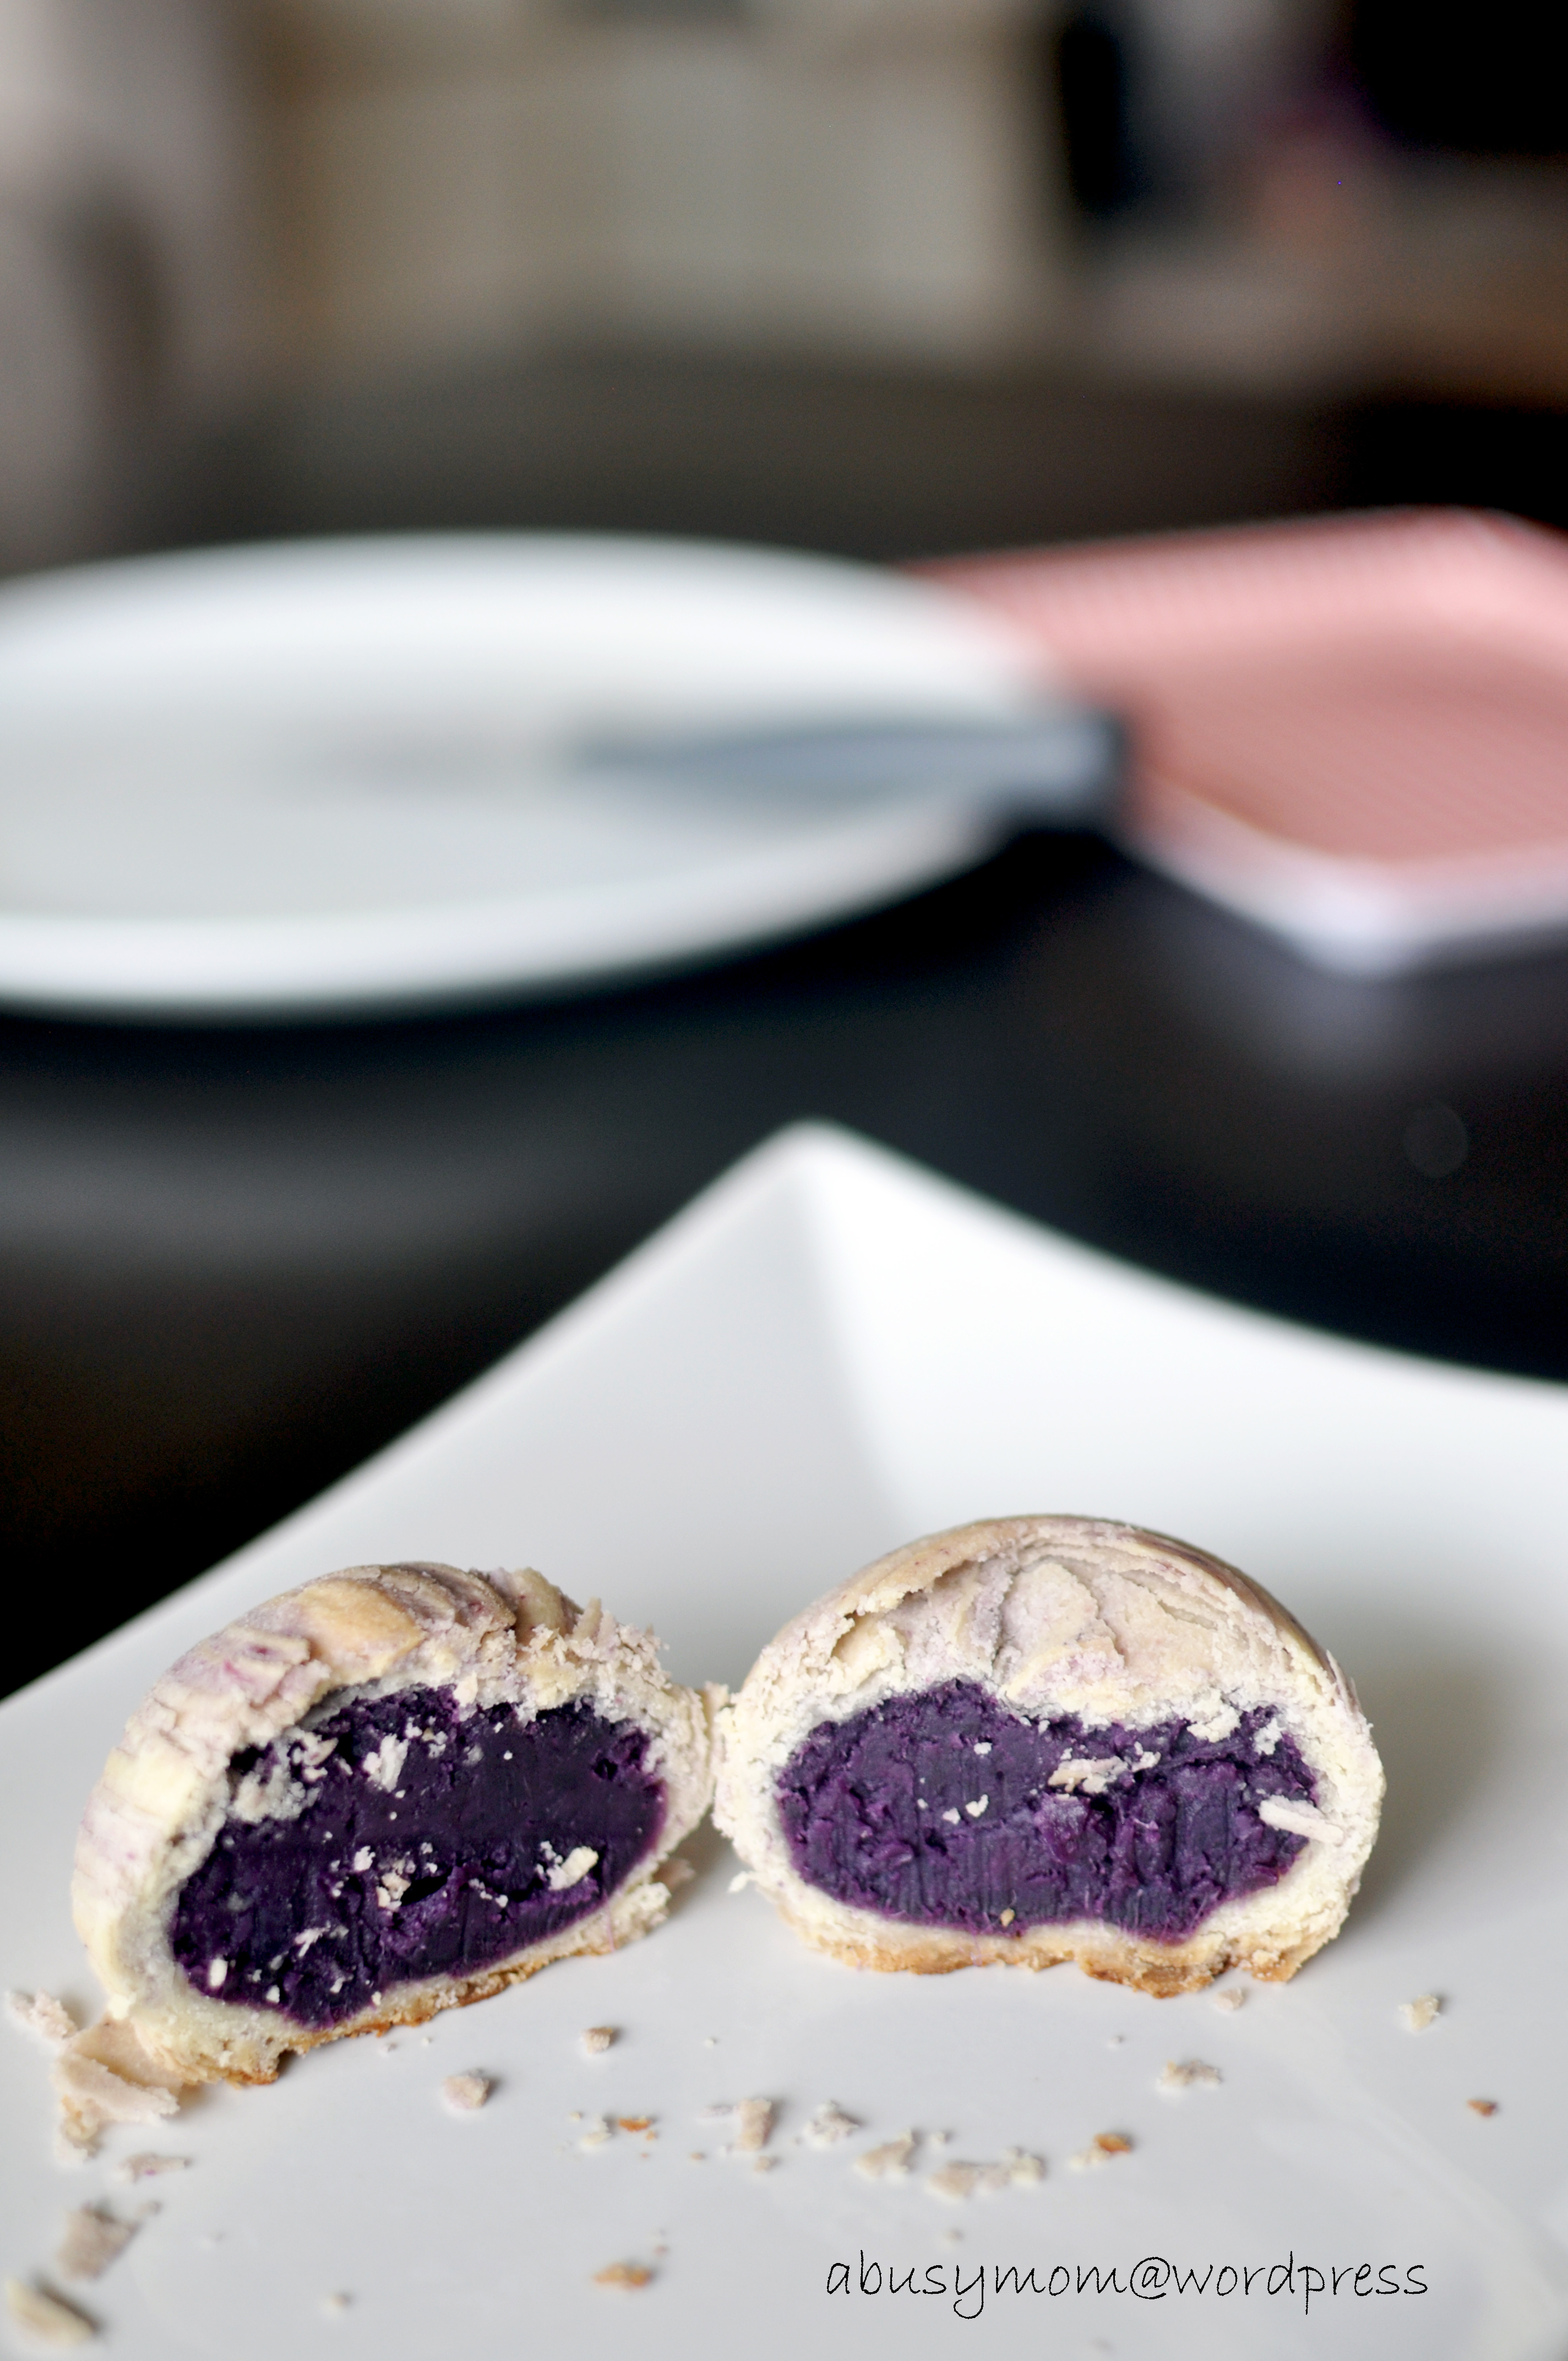
The cross-section of the mooncake


Posted in Baking, Celebrations, Snacks | Tagged , , , , | 1 Comment

Happy Birthday, my little one

DSC_0118

Things are pretty hectic after I joined the work force again.

My little one asked me if I could spare some time to make a totoro cake for her. Well, I could not turn down her request.

After much research, kneading and moulding, I made this topper for the cake.

From this, the very raw stage of fondant making,

DSC_0025-2

To this, two main characters from the movie – My neighbour.

DSC_0035

My little one was super elated to see the end product after she returned home from school.

DSC_0144

What a day.

But it is definitely a piece of art from my perspective.

Enjoy!


Posted in Baking, Cake, Celebrations | Tagged , , , | Leave a comment

Yule Log (Buche de Noel)

Yule Log-3Finally, I have the discipline to attempt to trying out this recipe for my personal favourite bake.

Yule Log (adapted from joyofbaking)

70g  caster sugar
120g bittersweet or semisweet chocolate, in small pieces
3/4tsp cream of tartar
1/2 tsp vanilla extract
6    large eggs separated

Method

  1. Preheat oven to 180 degrees C and place the oven rack in the center of the oven. Butter,  a 17 x 12 inch (43×30 cm) baking pan. Line the pan with parchment paper.
  2. Separate the eggs, placing the whites in one bowl and the yolks in another.
  3. Melt the chocolate in a heatproof bowl placed over a saucepan of simmering water.
  4. Place the egg yolks and 1/4 cup of sugar and beat till light and fluffy. (Test : When you slowly rise the whisk/beaters, the batter will fall back into the bowl in a slow ribbon)
  5. Beat in the vanilla extract. Add the melted chocolate and beat only to combine.
  6. In another clean mixing bowl, beat the egg whites until foamy. Add the cream of tartar (to stabilise) and beat at medium-high speed until soft peaks form. Gradually beat in the remaining 2 tablespoons of sugar until stiff peaks form.
  7. Gently fold a small amount of egg whites into the egg yolk mixture. Fold in the remaining egg whites just until incorporated. Don’t over mix.
  8. Spread the batter evenly into the prepared pan. Bake for 15 -20 minutes until the cake is puffed and springs back when gently pressed.
  9. Remove from oven and place on wire rack to cool.
  10. Cover the cake with a clean, slightly damp towel.

Chocolate Whipped Cream

240ml heavy whipping cream
40g caster sugar
2 tbsp unsweetened cocoa powder
1/2 tsp vanilla extract

Method

  1. In a mixer bowl, place the whipping cream, vanilla extract, sugar and cocoa powder and whisk to combine.
  2. Place the bowl and wire whisk in the refrigerator for at least an hour.
  3. Beat the mixture until stiff peaks form.
  4. Once the cake has cooled, spread with the cream and gently roll the cake, peeling off the parchment paper as you roll.
  5. Trim one end of the cake at an angle and set it aside. Place the cake, seam side down on a serving platter.
  6. Take the slice of reserved cake and attach it to the side of the cake with the whipping cream (2 tbsp).
  7. Cover and chill until serving time and set aside.
  8. Dust it with icing sugar and decorate with meringue mushrooms before serving.

It was a tedious process. This explains the procrastination to try the recipe.

But it is a really good recipe.

This is my last post for 2014.

Wishing everyone a bountiful, blessed and beautiful 2015.

Enjoy.

Posted in Baking, Cake, Celebrations | Tagged , , , | Leave a comment

Weekly Photo Challenge: Minimalist

There are a few photos I took with my handphone that is themed around minimalist.

Sunrise

Sunrise with an overcast

Miffty hidden

Hide-and-seek with miffy

Do check on Minimalist on more sharing by other fabulous bloggers.


Enjoy.


Posted in At Home, Weekly Photos | Tagged , , , | Leave a comment

Lemon Madeleines

lemon madeleine 2

Madeleines are dainty, pretty little  French butter cakes. Especially eating hot madeleines just out of oven with cold milk is heaven.

We love them, in any flavour.

This is the first batch of madeleines I made with the help of my little one. I was too excited  that I could only use my phone to take pictures of these little beauties.

Lemon Madeleines – 10 regular size madeleines

50g icing sugar
65g all-purpose flour
1      lemon for zest
2    tsp squeezed lemon juice
1/2 tsp baking powder65g all-purpose flour
1     egg
65g unsalted butter, melted then cooled until lukewarm

Method

  1. In a mixer bowl, beat an egg, lemon juice, icing sugar, lemon zest and a pinch of salt just to blend. And set aside.
  2. In a separate bowl, prepare the dry ingredients. Sift the flour and baking powder.
  3. With the mixer on low, pour the dry ingredients into the wet ingredients. Mix well on the low.
  4. Add in the melted butter slowly and mix until thick ribbon is formed.
  5. Rest the batter in the fridge for 30 minutes. Preheat oven to 180°C.
  6. Butter the madeleine mould while waiting.
  7. Once the batter has chilled, take it out of the fridge and begin filling the mould. Only fill 2/3 of madeleine mould with batter.

lemon madeleine 5

8. Bake for 10-12 minutes at 180°C or until puffed and golden brown. Remember high temperature is important for the ‘hump’ on each of the madeleine.

lemon madeleine 49. The edges of the cakes will start to turn a dark golden brown and the centre might have   a small hump once the cakes are almost finished.

10. Pull the madeleines out of the oven and allow to cool for 5 minutes before removing from the moulds. When removed, lightly dust the top with a little powdered sugar.

lemon madeleine 3

Yes. They are best consumed fresh from the oven ! Forget about the possibility of having sore throat or burnt tongue.

The little hand below tells it all.

lemon madeleine 1

Enjoy!

Posted in Baking, Cake | Tagged , , , | Leave a comment

Weekly Photo Challenge : Cover Art

This weeks photo challenge at The Daily Post is called “Cover Art”.

Quite an interesting theme. And I have a few favourites that I would like to share.

Some photos taken during some of the travel trips I went with my family.

309927_10151286970998558_1586182338_n


774942_10151277527668558_549546310_o


DSC_0180

What is your cover art ?

Posted in Travel, Weekly Photos | Tagged , , , , | Leave a comment

Zebra Bundt Cake

Slice of Zebra Bundt cake

Lately, I resume my role as a full time working mother after a self-proclaim sabbatical for the past three years.

Apprehension. Anxiety. Appreciation. Affirmation.

The change in the mental state and mood has somehow made me more energetic and positive in my outlook on life.

As a form a celebration, I tried out the beautiful zebra bundt cake.

Zebra Bundt Cake – makes one 10-inch cake

Ingredients

380g cake flour
2 tsp      baking powder
1/2 tsp  salt
250g     caster sugar
64g       natural cocoa powder
6 tbsp  water
340g    unsalted butter, melted and cooled
1½ tsp vanilla extract
5            large eggs
170ml  whole milk

Method

  1. Heat the oven to 160°C. Cover bundt pan with bake spray and dust with flour.
  2. Sift flour baking powder and salt into a bowl. Set aside.
  3. In a separate medium size bowl add in 80g of sugar, the cocoa powder, and water then whisk until mixture is smooth. Set aside.
  4. Place melted butter and sugar in a stand mixer bowl fitted with a paddle attachment. Beat on medium high until mixture is blended, about 1 minute. Add in vanilla and beat until combined. Add and beat eggs one at time, mixing well after each addition. Once all eggs are added, beat mixture until it becomes light and fluffy (it will resemble pancake batter, but slightly thinner).
  5. Turn mixer speed down to low and add the flour in three additions, alternating with the milk in two additions and mixing just until blended.
  6. Add 2 cups of the batter to the cocoa mixture and stir until blended.
  7. Using an ice cream scoop, pour two scoops of vanilla mixture into pan. Now alternate and pour one scoop of chocolate mixture on top of vanilla mixture. Continue to alternate between vanilla and chocolate layers until bundt pan is filled.

Zebra Bundt Cake batter

8. Bake zebra pound cake for 50-60 minutes at 160°C or until a cake tester inserted into the center comes out clean. Cool cake in the pan on a wire rack for 15 minutes. Invert the cake onto the rack and cool completely.

Zebra Bundt Cake top view

It was rather fun when pouring the alternate layers of chocolate and plain batter. Time consuming but satisfying.

Zebra Bundt Cake

Enjoy.

Posted in Baking, Cake, Celebrations | Tagged , , | Leave a comment

Flaky Swirl Mooncake with Purple Sweet Potato Filling

DSC_0764aThis is my first attempt in making this mooncake, one of my family’s favourite snack for the coming Mid-Autumn festival.

I have made some adjustments to the original recipe posted on Nasi Lemak Lover’s blog.

Purple Sweet Potato Filling — make around 14 pieces
700g purple sweet potato peeled, cut into chunks
50g   icing sugar
50g   salted butter

Method
1. Steam the sweet potato chunks at high heat till soft. Add in icing sugar and butter while holt and mash the sweet potato till smooth. Set aside to cool.

2. Weigh 50g each and shape it to ball.

DSC_0639a

Oil Dough
255g cake flour
130g Ghee
1/2 tsp mashed sweet potato
Few drops of purple food colouring

Method
1. Mix cake flour, mashed sweet potato and ghee together till it is soft and pliable. Then add the food colouring and knead till the colour is uniform. Cover and rest 20 minutes in fridge till need.

Water Dough
300g plain flour
25g icing sugar
110g ghee
115g ice cold water

Method
1. Mix flour, ghee, sugar and ice cold water together till it is soft and pliable. Cover and rest 20 minutes in fridge till need.

To make flaky swirl mooncake

1. Weigh water dough 60g each and oil dough 40g each, shape into ball.

DSC_0649a
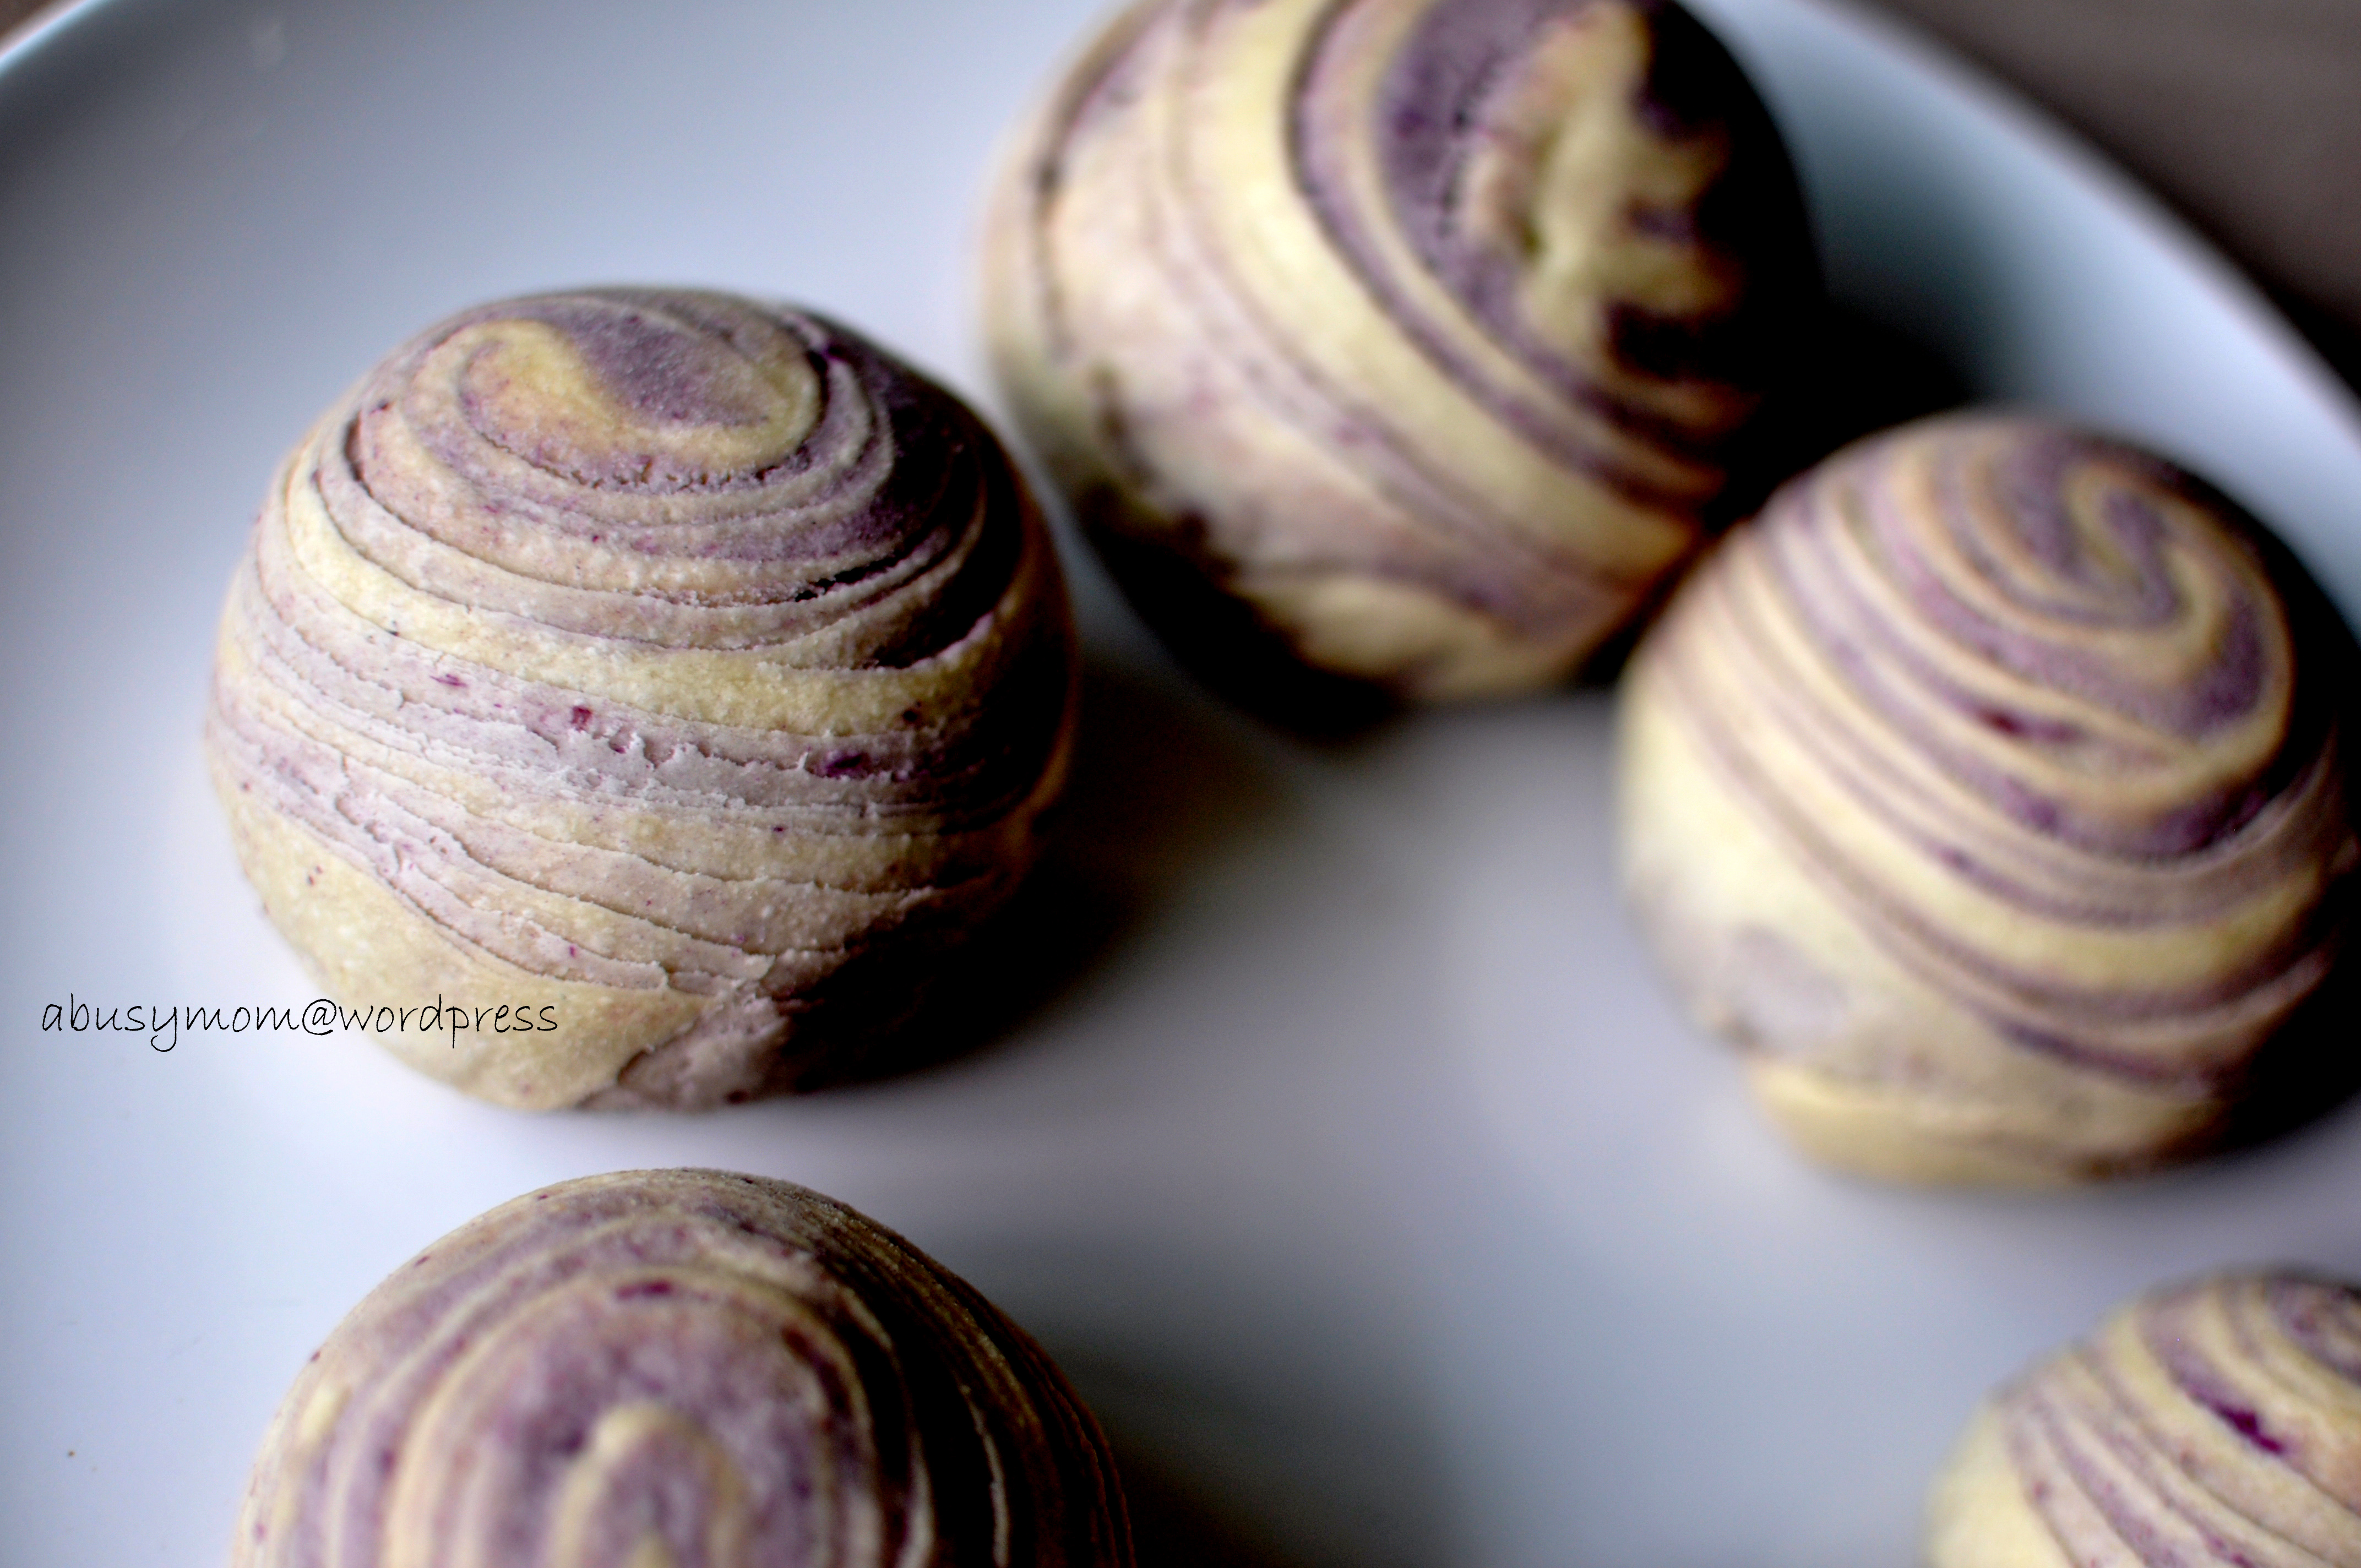
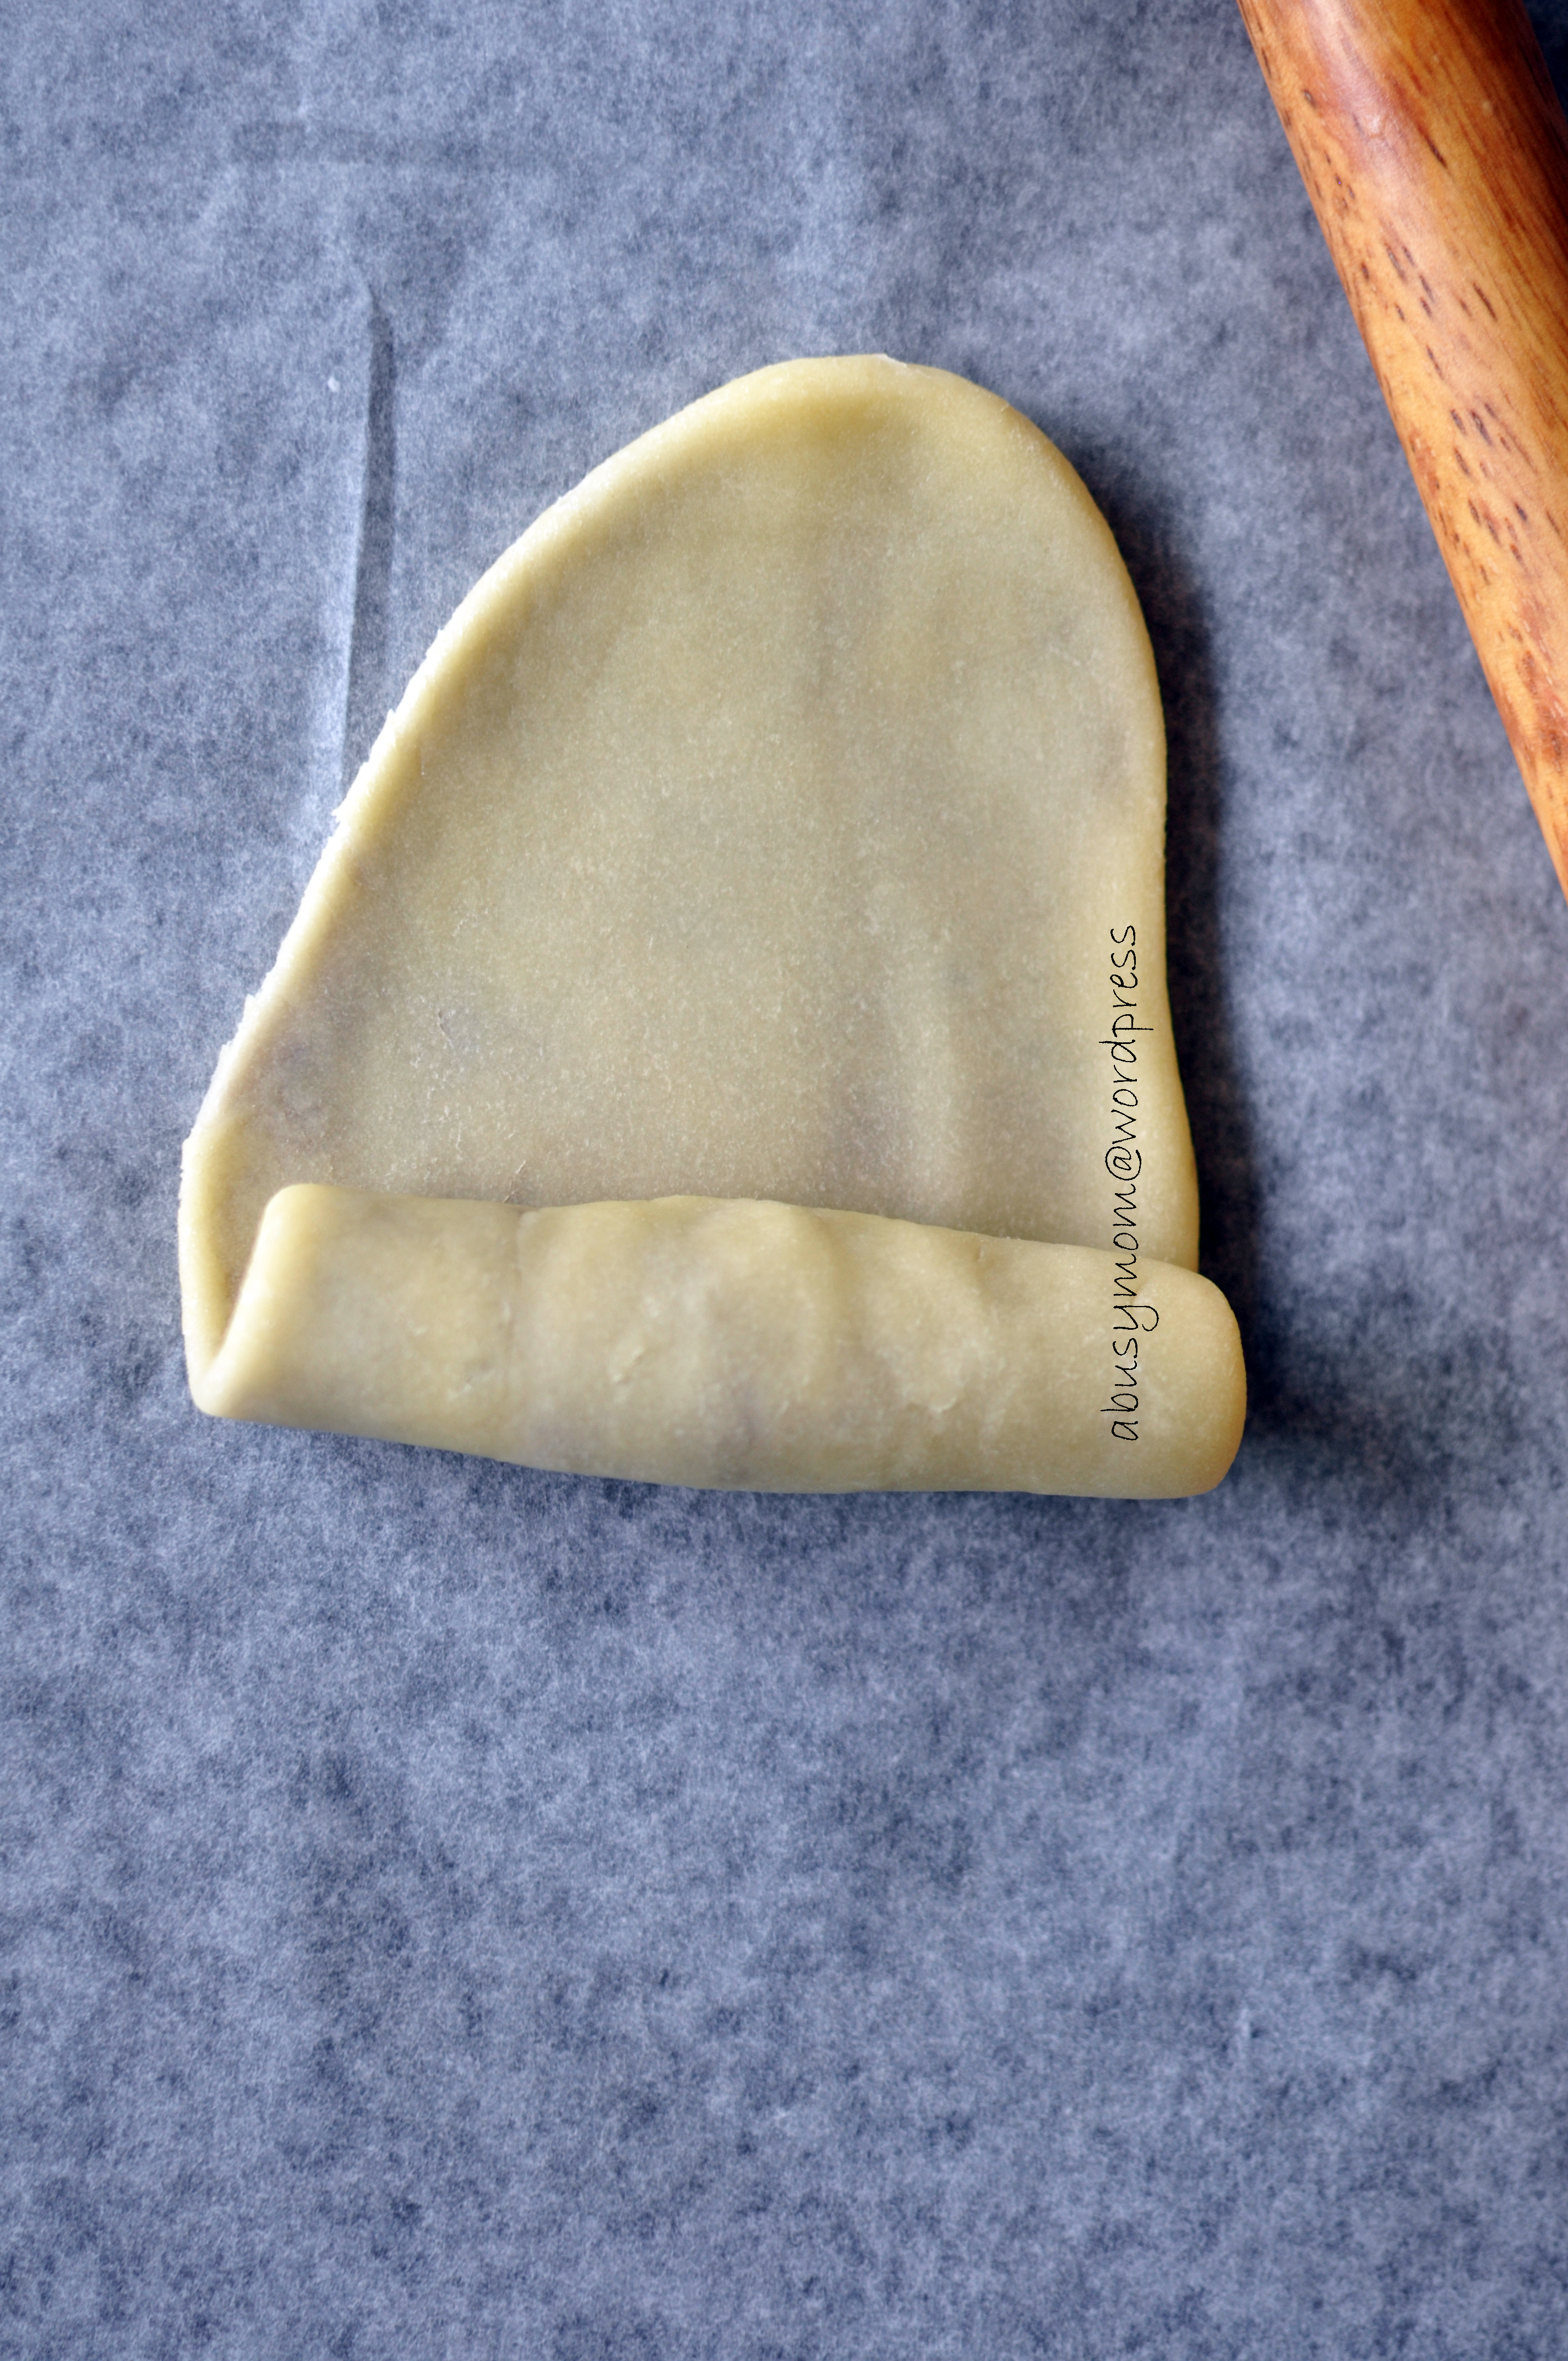
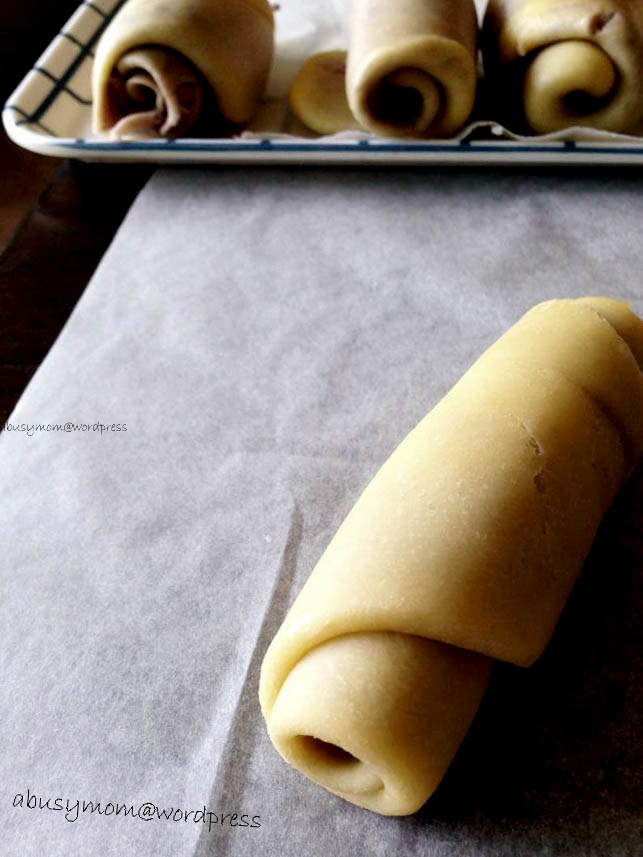
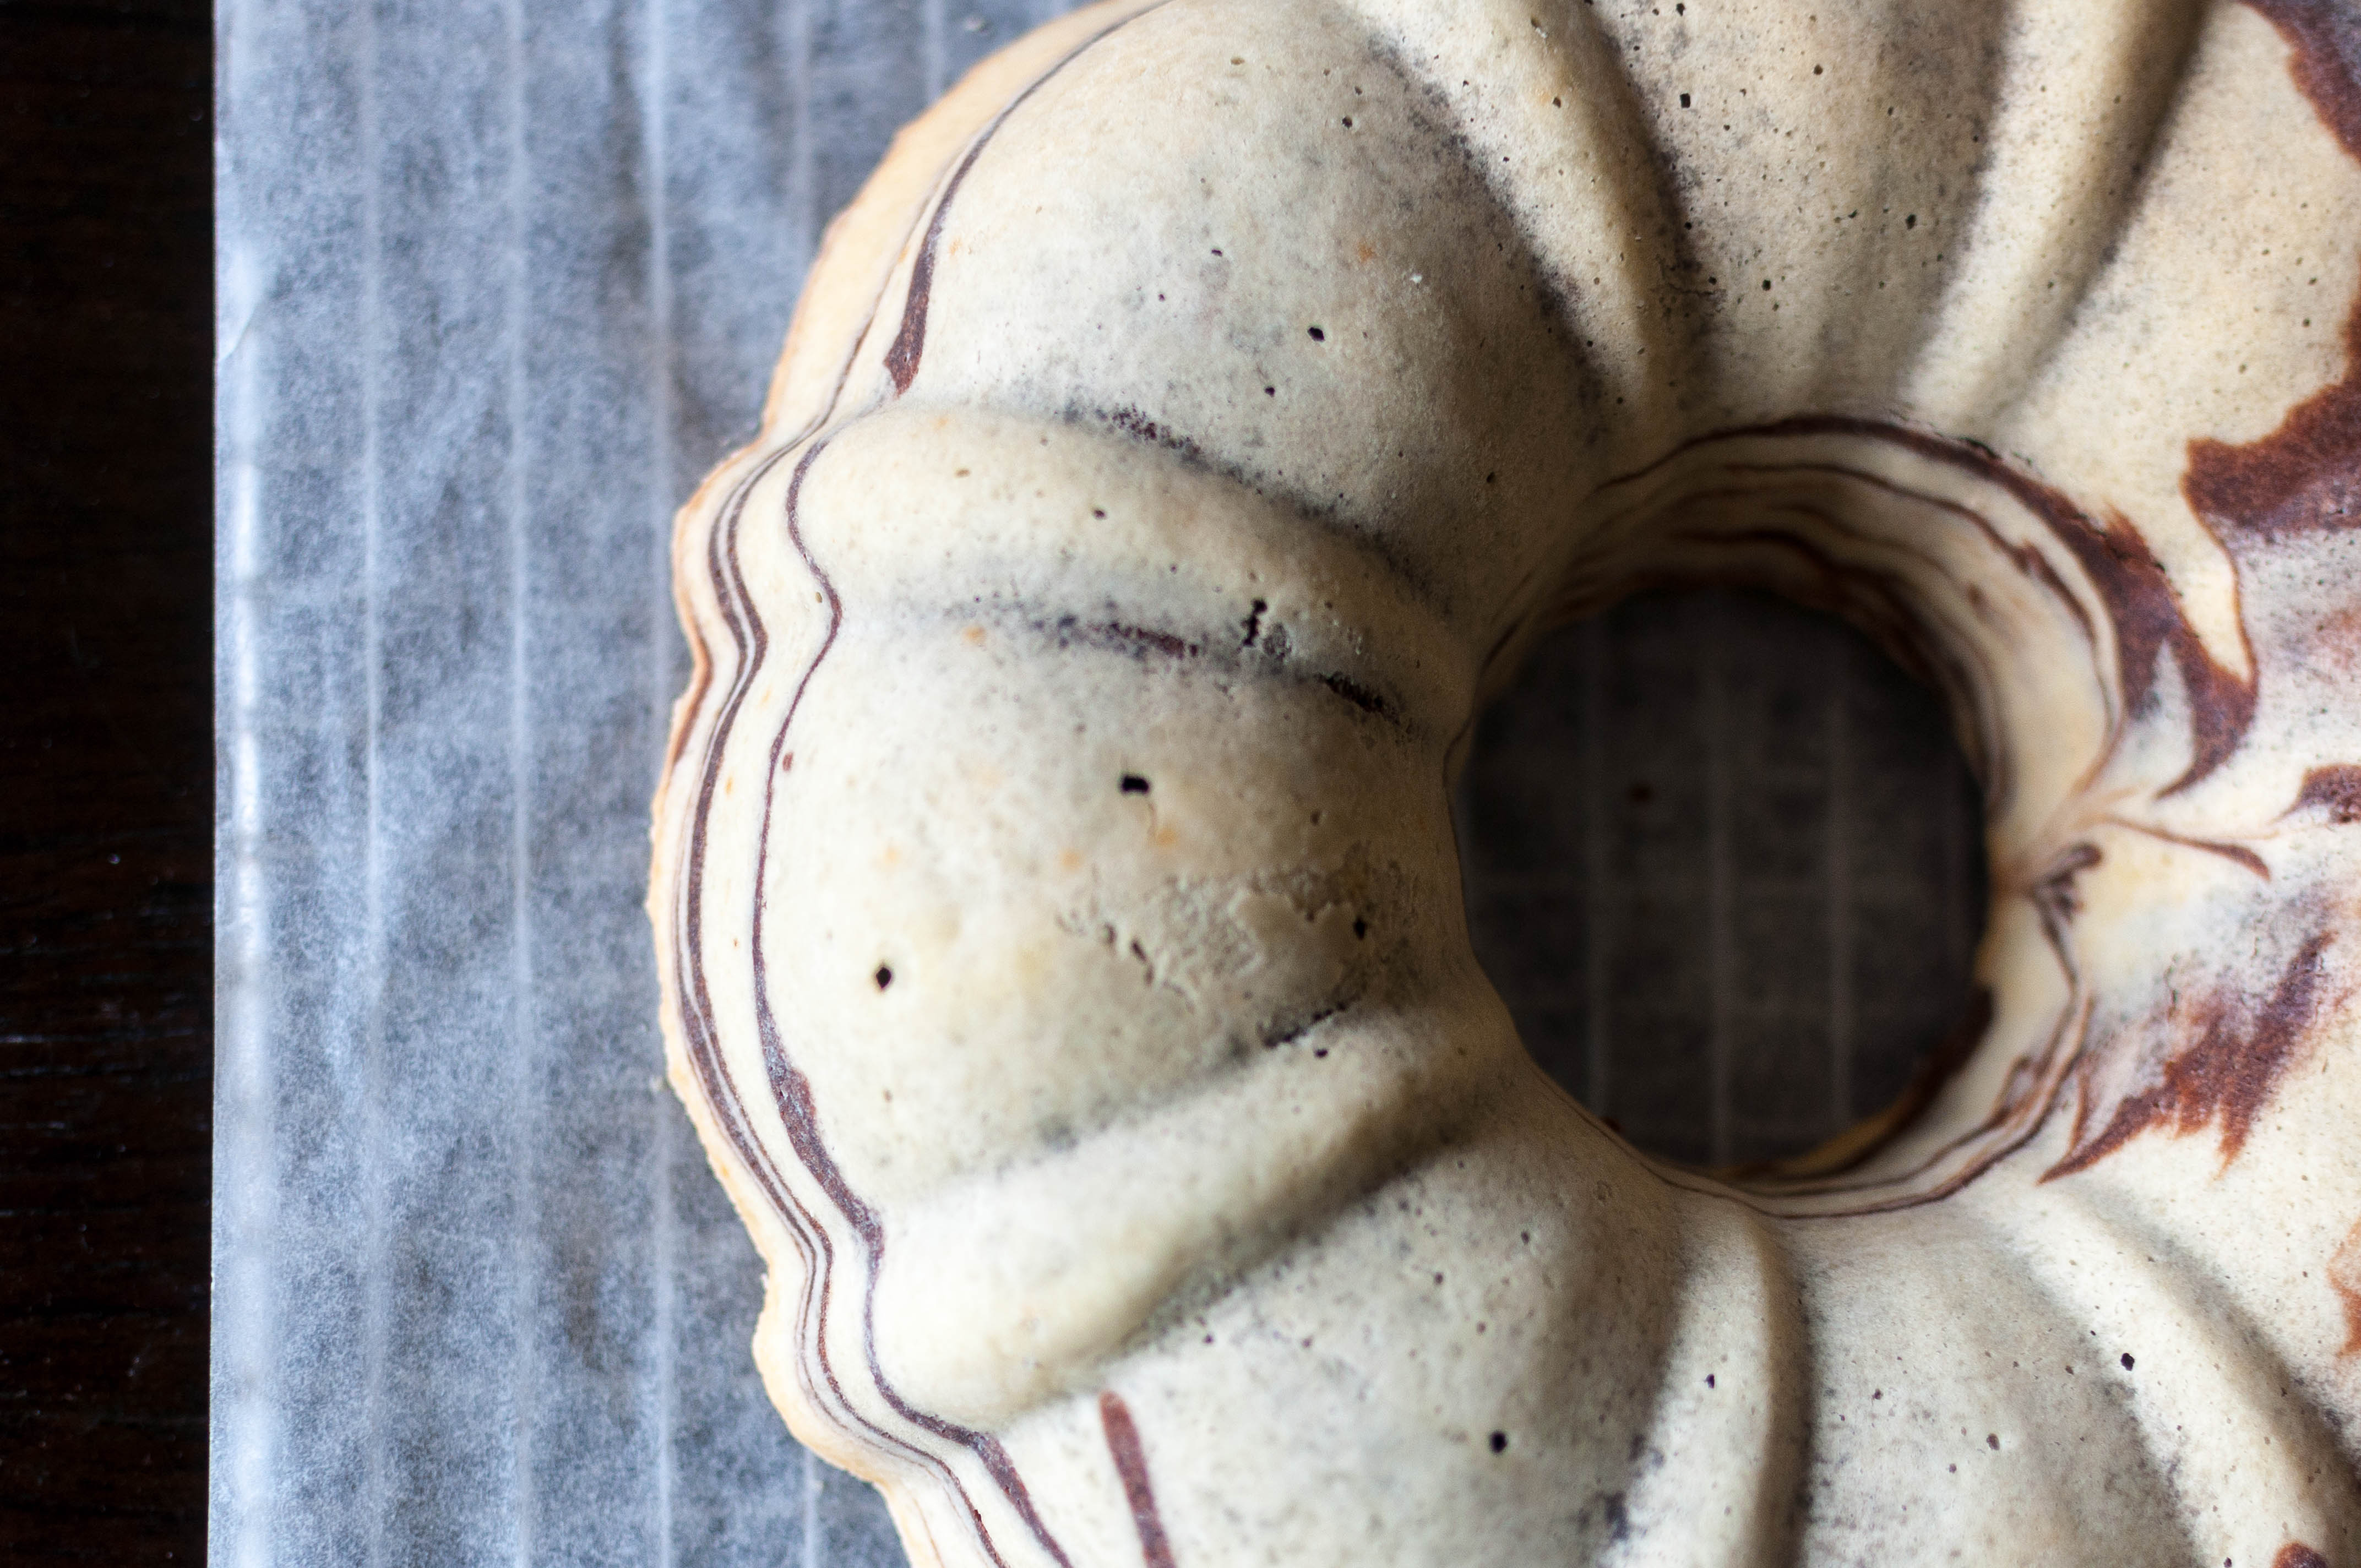
2. Flatten water dough and wrap oil dough inside.
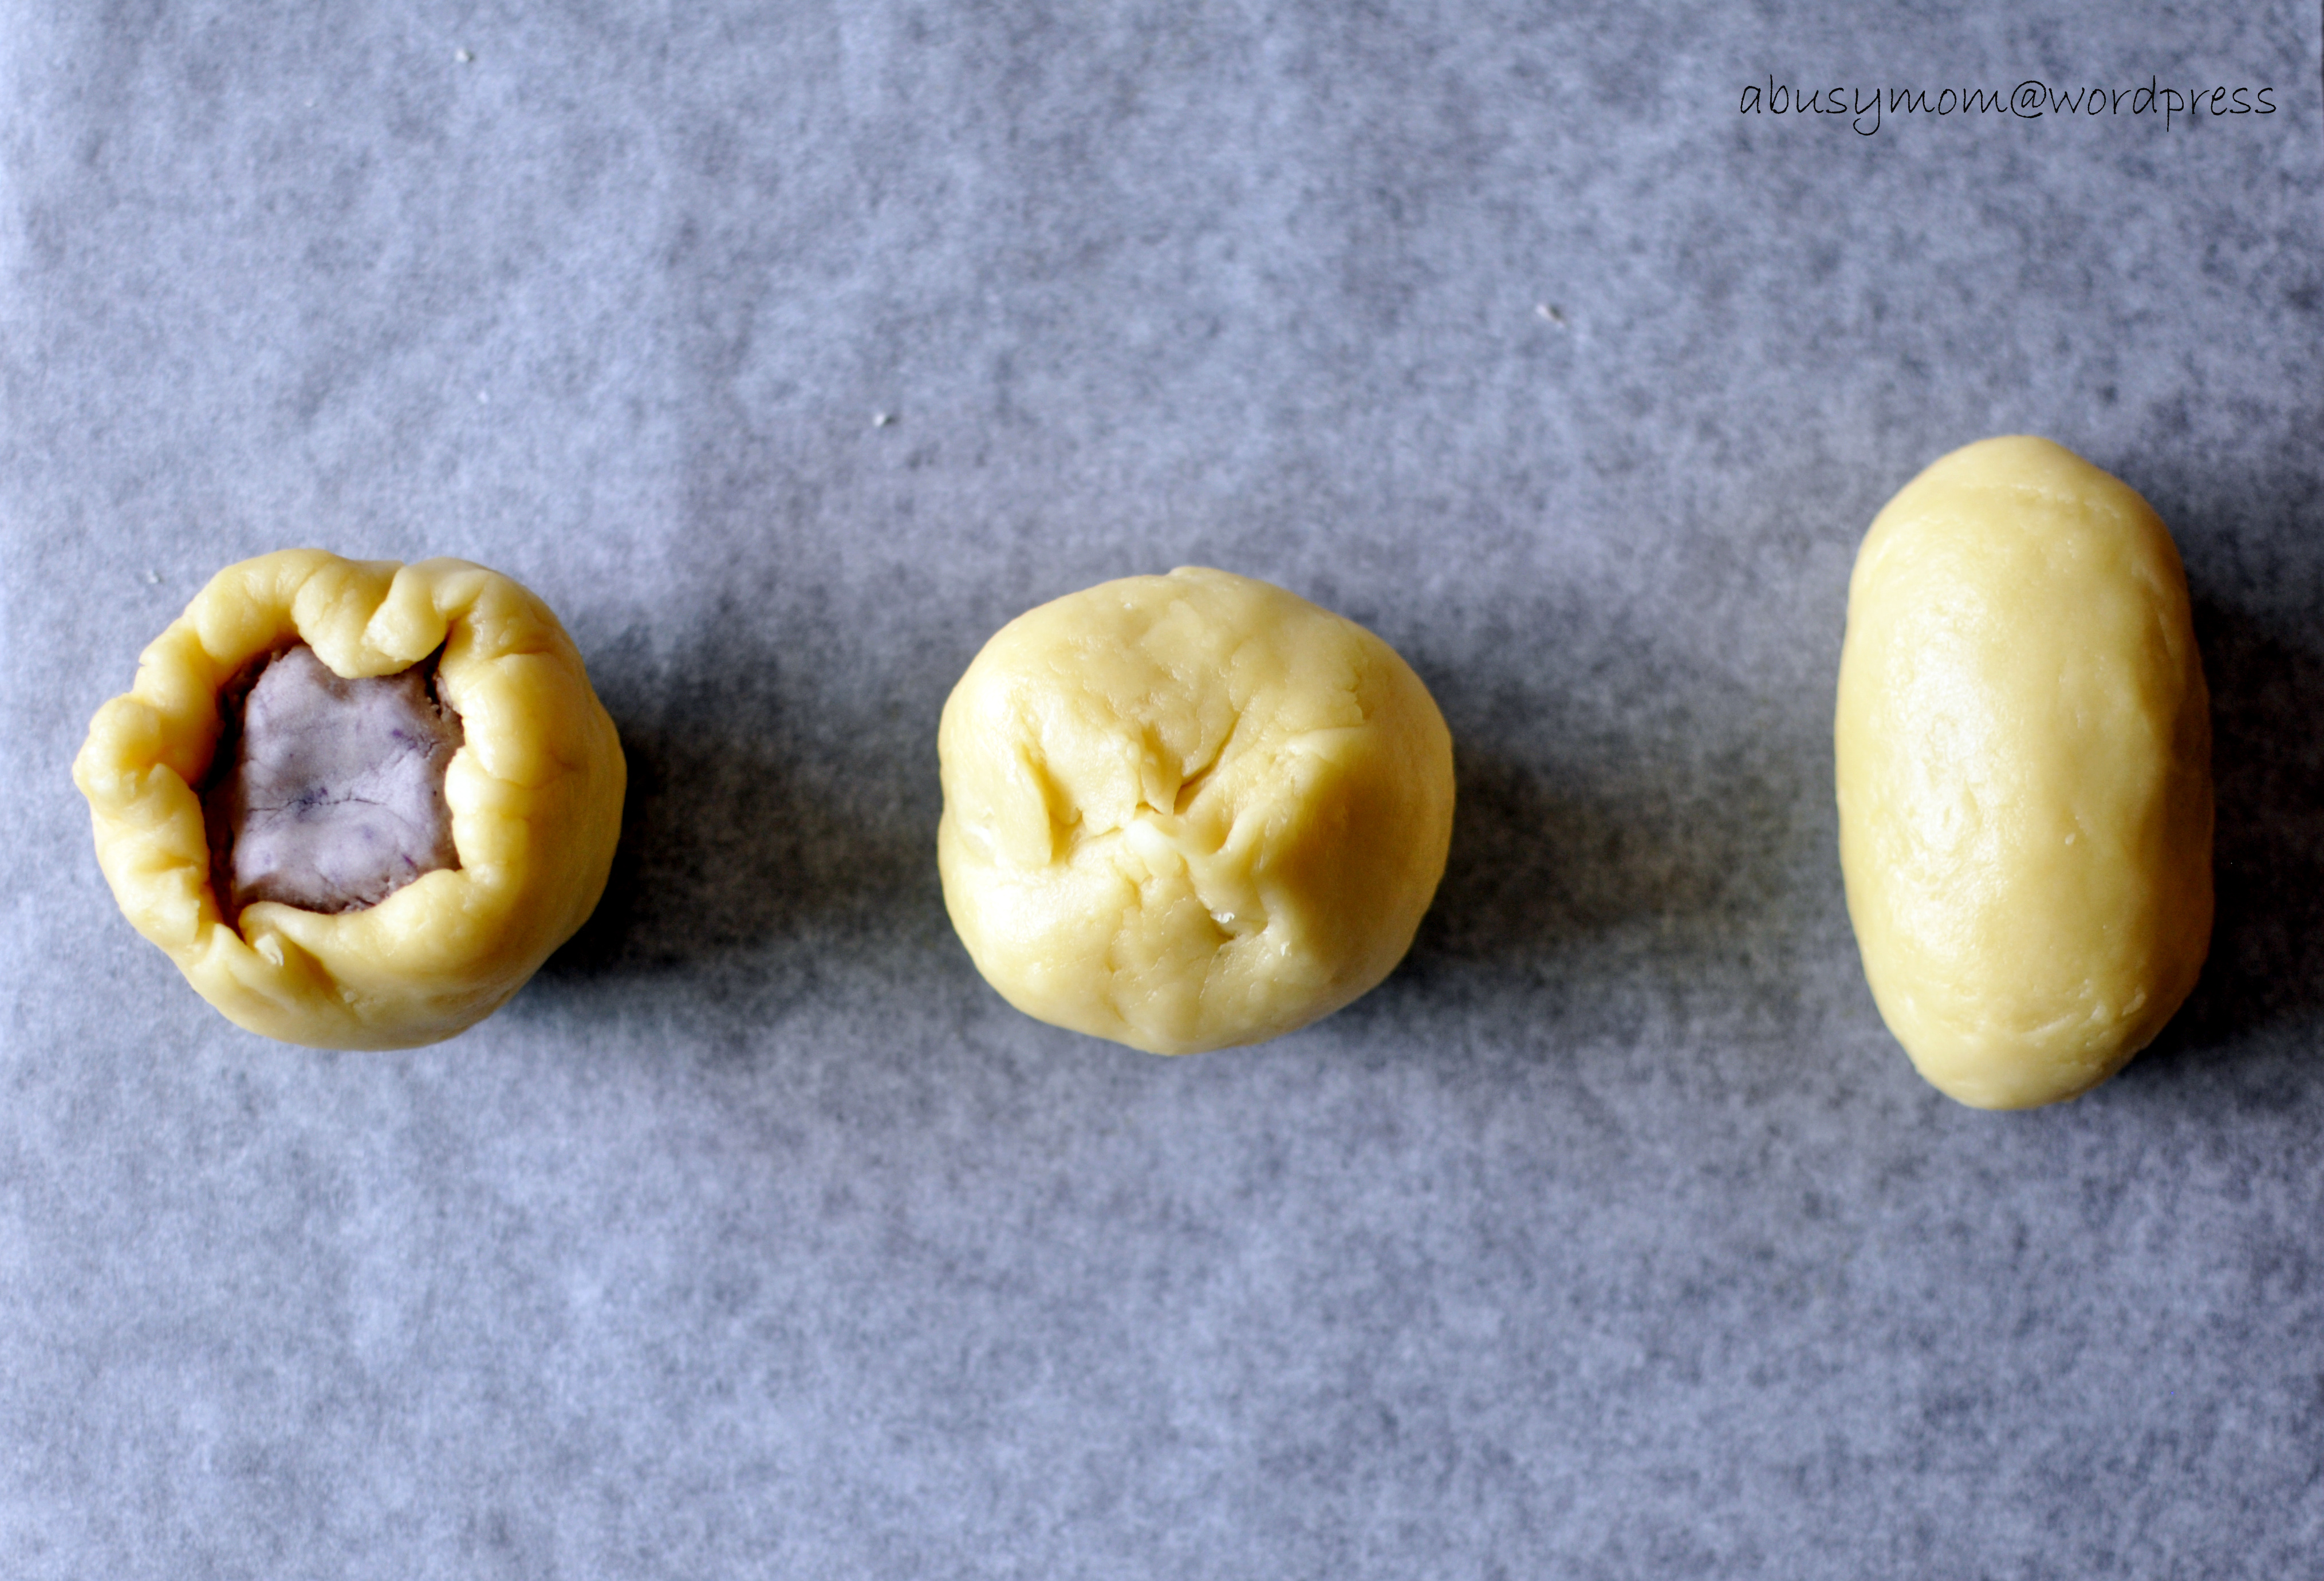
DSC_0659a3. Roll out into long shape and roll up like swiss roll.

DSC_0682

4. Roll from the shorter side into long shape and roll up like swiss roll from shorter side.

Swiss roll 1-2

5. Cut the dough into 2 portions and repeat the rest of the dough until finished.

DSC_0695a

6. Flatten the dough start from the swirl side and roll out into a round disc.

7. Flip over and wrap in purple sweet potato and seal it tightly facing downwards.

DSC_0710a

8. Place on baking tray and bake in preheated oven 170C for 25-30mins.

DSC_0743a

9. Cool well before cutting.

DSC_0756a

The taste is superb. The unique, refreshing taste of the filling somehow off-set the oily, buttery taste of the pastry. Baking the mooncake seems like a preferred choice for my family.

Best consumed within 1-2 days.

DSC_0746a

This post is also linked to the event, Little Thumbs up organised by Doreen from my little favourite DIY and me, Bake for Happy Kids, hosted by Diana from Domestic Goddess Wannabe at this post.

 Photobucket
Enjoy.
Posted in At Home, Baking, Celebrations | Tagged , , , , | 11 Comments

Weekly Photo Challenge : Silhouette

DSC_0555a

This photo was taken last year when we visited took a roller-coaster ride at The Wizarding World of Harry Potter in Universal Orlando Resort in Orlando, Florida.

The photo challenge at The Daily Post is Silhouette. So, I picked this unique photo for the challenge.

It was a fabulous trip when my little one took a ride on the flight of the Hippogriff. And it was an unforgettable experience for her and us.

DSC_0466a2013-11-23 043a

A happy child,  a happy mum.

DSC_0551a

Hope you enjoy the summer!

Posted in Travel, Weekly Photos | Tagged , , , , , , | Leave a comment

S’more Cookies

DSC_0093a

It has been a crazy 4-months since my last post in March.

Changes, more correctly, transformation in life that my family and I have gone through over the past months.

And thankfully, we are blessed that the outcome is positive though feeling disappointed, upset, hopeless at times. Family love and support and faith are what we hang on to.

To celebrate the start of new phase of life, I made some s’more cookies last week.

Homemade Graham Crackers

Ingredients – for around 30 2-inch by 3 inch cookies
280 g all-purpose flour
140 g whole wheat flour
60 g brown sugar
225 g unsalted butter, cut into small pieces
1/2 tsp salt
1/2 tsp ground cinnamon
1/4 cup honey

Method

1. In the bowl of a food processor, blend together the all-purpose flour, whole wheat flour, rown sugar, salt and cinnamon. Add the butter pieces and the honey and blend until the mixtures comes together.

2. Scrape out the dough onto a sheet of plastic wrap and pat it into a rectangular shape; wrap well. Refrigerate until firm, but still pliable, about 1 hour.

3.   Pre-heat the oven to 180 degree Celsius.

4. Line two baking trays with parchment paper . Turn out the dough onto a lightly floured surface and roll out thinly, about 1/8 inch thick.  (you can gather the dough scraps and reroll as necessary).

5. Cut out crackers with a 2- to 3-inch cookie cutter (or cut into squares with a pizza cutter) and place pieces on the prepared baking sheets, a dozen per sheet. Prick each one several times with a fork and sprinkle with caster sugar, if desired.

6. Chill the pieces on the sheets for at least 15 minutes before baking. bake for 14 to 16 minutes until golden. Let set for 1 minute before transferring the crackers to a rack to cool completely.

DSC_0079aMy little one elated over her cookies before coating with chocolate.

And we sandwiched with a thick, yummy layer of mashmallow. (Recipe : Please click on  Puffy Cloudy Marshmallows).

And here we are, stacks of S’more cookies in the shapes of clouds.

DSC_0103a

Layers of goodness as we bite the cookies — the chocolaty bitterness coupled with the sweetness from marshmallows.

DSC_0158a

A good snack for the summer.

Enjoy.

Posted in Baking, Snacks, Uncategorized | Tagged , , , , | Leave a comment